Installing the Printer Driver
Before using the printer, you must install the printer driver for it.
IMPORTANT |
Close all the other applications before the installation. When you upgrade a driver, you can overwrite the old driver with a newer one. Uninstalling the driver is not required before the upgrade. To use the printer, you need to install the driver and add the printer (see “Adding a Printer”). |
NOTE |
Be sure to refer to the README file in the following folder before installing the printer driver. [SFP] →[Documents] → [english] → [README-ENG.html] |
1.
Turn the computer on.
2.
If you are using the multi-user function, log in with an administrator account.
If you are not using the multi-user function, proceed to the next step.
3.
Open the following folders: [SFP].
4.
Double-click the [UFRII_LT_CARPS2_Installer.pkg] icon.

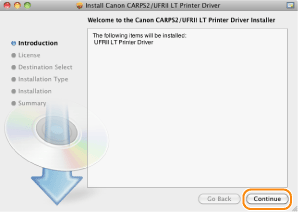
5.
Click [Continue].
6.
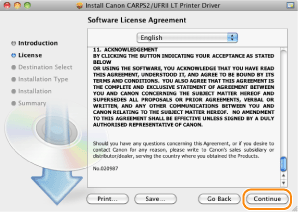
Read the software license agreement carefully → click [Continue].
NOTE |
Canon Software License Agreement is printed by clicking [Print]. Canon Software License Agreement is saved in PDF format by clicking [Save]. |
7.
If you agree to the terms of the software agreement → click [Agree].

8.
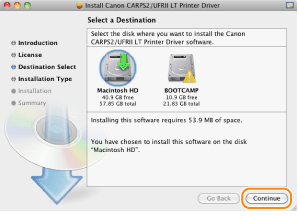
When the following screen appears → click [Continue].
 | The installation location cannot be changed. Click [Continue]. |
9.
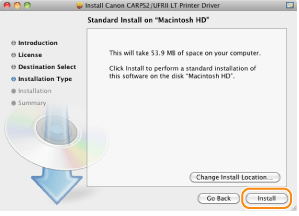
Click [Install].
 | The installation location cannot be changed even if the [Change Install Location] button displayed on the screen above. |
10.
When the following screen appears, enter the administrator's name and password → click [OK]([Install Software]).
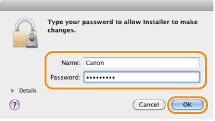
Installation starts.
NOTE |
Enter [Name] and [Password] specified on macOS here. |
11.
Click [Close].
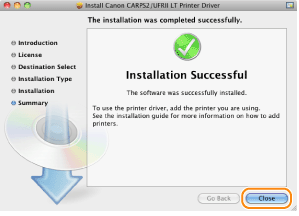
The installation is now completed.
Before using the driver, you must add the printer in [System Settings].
When connecting with USB
Adding a printer in "Adding a Printer"
When connecting to a network
Set the IP address or perform the protocol settings. If the IP address has already been set or the protocol settings have already been specified, see "Adding a Printer" and adding a printer.