Copy Security with Forced Document Scan Lock and Secure Watermark
You can implement security measures such as Document Scan Lock or Secure Watermark to help prevent unauthorized copying and information leakage.
These modes can be set by administrator so that it is always reflected on the output by the general users.
Forced Secure Watermark
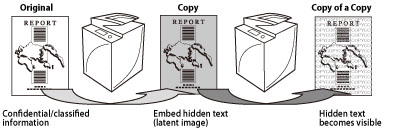
The Forced Secure Watermark mode enables you to embed hidden text (latent image) in the background of your outputs.
The hidden text will become visible if your output (original) is copied, helping to restrict unauthorized copying and information leakage.
Document Scan Lock
This mode enables you to embed hidden information (TL code) on the background of the copies to help restrict unauthorized copying. You can also embed information such as the user name, date/time, and device name as hidden text. You can analyze the hidden text using the Document Scan Code Analyzer for MEAP and find out whom, when, and with which machine the copy was made. Also, by using the detection mode for the embedded information, you can help prevent scanning of the documents with embedded information or double embedding of information.
|
Required Condition
|
|
You are logged in as the administrator.
(To use the Forced Secure Watermark function) The Secure Watermark is activated.
(To use the Document Scan Lock function) The Document Scan Lock Kit is activated.
|
This section describes how to set the Forced Secure Watermark and Document Scan Lock modes.
Forced Secure Watermark Settings
Document Scan Lock Settings
Entering a Password to Copy an Output
Forced Secure Watermark Settings
1.
Press  (Settings/Registration) → [Function Settings] → [Common] → [Print Settings] → [Secure Watermark Settings] → [Forced Secure Watermark].
(Settings/Registration) → [Function Settings] → [Common] → [Print Settings] → [Secure Watermark Settings] → [Forced Secure Watermark].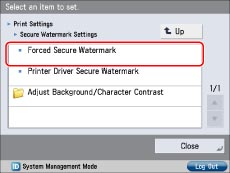
2.
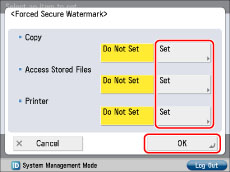
Press [Set] for the functions with which you want to use Forced Secure Watermark → specify the watermark type → press [Next].
3.
Set the text size and colour and the background pattern → press [OK] → [OK].
The Forced Secure Watermark mode is now set.
Document Scan Lock Settings
1.
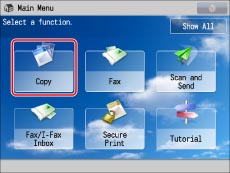
Place the original in the feeder or on the platen glass → press [Copy].
|
NOTE
|
|
If the Main Menu screen is not displayed, press [Main Menu].
|
2.
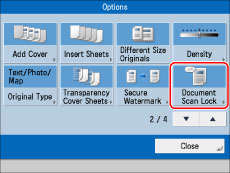
Press [Options] → [Document Scan Lock].
3.
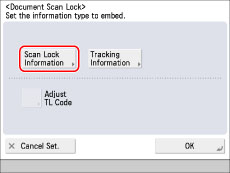
Press [Scan Lock Information].
4.
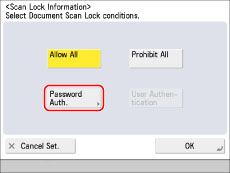
Select the scan lock information condition. As an example, [Password Auth.] is selected.
5.
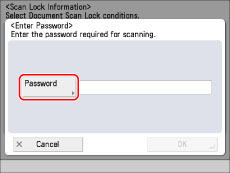
Press [Password] → enter a password → press [OK].
6.
On the confirmation screen, enter the same password → press [OK] repeatedly until the Copy Basic Features screen is displayed.
7.
Press  (Start).
(Start).Copying starts.
8.
When copying is complete, remove your originals.
Entering a Password to Copy an Output
1.
Place the output with the embedded scan lock information in the feeder or on the platen glass → press (Start).
(Start).Scanning stops, and the password authentication screen appears on the touch panel display.
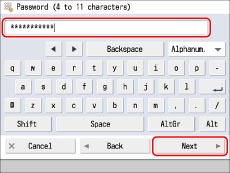
2.
Enter the password that was set in step 5 → press [OK].
Copying starts.