Feeder
Check the location of the paper jam, and follow the procedure described below, while referring to the directions that appear on the touch panel display, to remove the jammed original.
 CAUTION CAUTION |
|
When removing jammed originals, take care not to cut your hands on the edges of the originals.
|
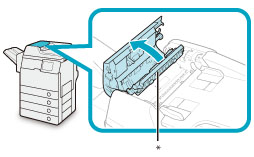
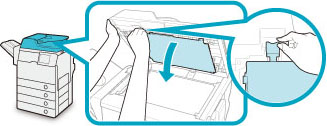
1.
Remove any jammed paper from inside the feeder cover.
|
CAUTION |
|
When closing the cover, be careful not to get your fingers caught, as this may result in personal injury.
|
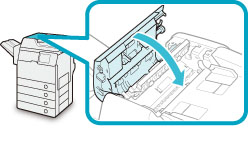
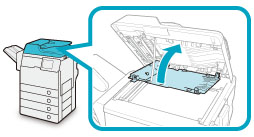
2.
Lift the feeder.
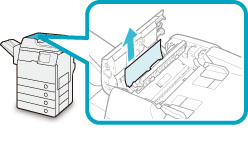
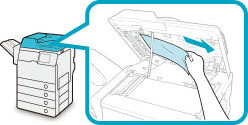
3.
Remove any jammed paper from the inside of the lower cover of the feeder.
 |
1. Hold the feeder with one hand, and then open the cover under the feeder with the other. |
 |
2. Remove any jammed originals. |
 |
3. Close the cover under the feeder. |
|
CAUTION |
|
When closing the cover, be careful not to get your fingers caught, as this may result in personal injury.
|
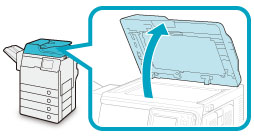
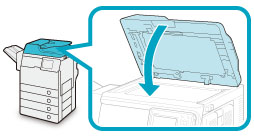
4.
Gently lower the feeder.
|
CAUTION |
|
When lowering the feeder, be careful not to get your fingers caught, as this may result in personal injury.
|
5.
Place your originals in the feeder to clear the error.
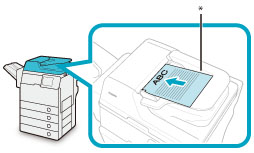
* Original Supply Tray
|
IMPORTANT
|
|
After you have cleared all the paper jams, make sure to return all the covers to their original positions. Once you have removed all of the jammed paper, printing resumes.
|