 -
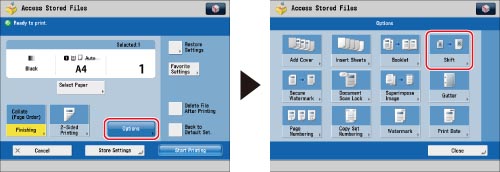
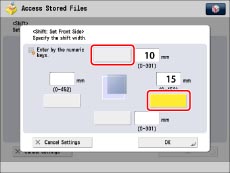
-  (numeric keys). You can also select the shift direction for the front and back sides of documents separately. - (numeric keys). You can also select the shift direction for the front and back sides of documents separately.
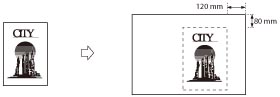
|
IMPORTANT
|
|
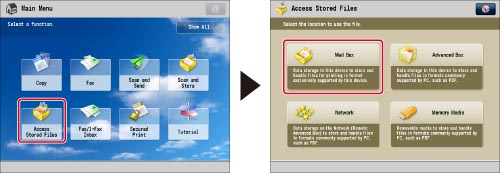
This mode can be used only for printing a file stored in a mail box.
|


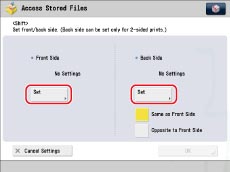 - (numeric keys) to enter the shift position.
|
NOTE
|
|
To change a value you entered, select the shift direction → enter the correct value using
- (numeric keys).The values for the back side can also be automatically set by selecting [Same as Front Side] or [Opposite to Front Side].
Examples: When the front side is set to 50 mm for the left, and 100 mm for the top.
If you select [Same as Front Side]: 50 mm for the left, and 100 mm for the top
If you select [Opposite to Front Side]: 50 mm for the right, and 100 mm for the top
|
 ..
..
|
IMPORTANT
|
|
For information on the modes which cannot be set in combination with this mode, see "Combination of Functions Chart."
If you use the Shift mode, the original image may be partially cut off on the print, depending on the size of the selected file, the size of the print paper, and the amount of shift specified.
|