Restricting the Users Who Can Access
You can restrict the users who can access with MAC addresses using a Web browser (Remote UI).
Always use the Remote UI to specify the MAC address. The control panel allows you only to switch the address filter setting between On and Off.
1
Start the Remote UI, and then log in as Administrator.
2
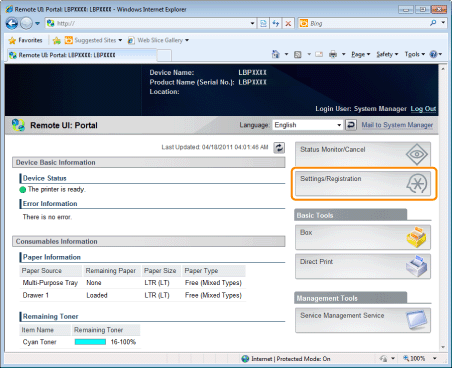
Click [Settings/Registration].
3
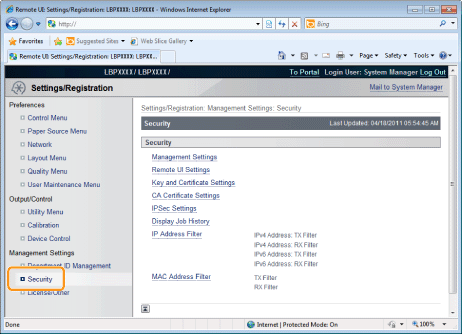
Select [Security] from the [Management Settings] menu.
4
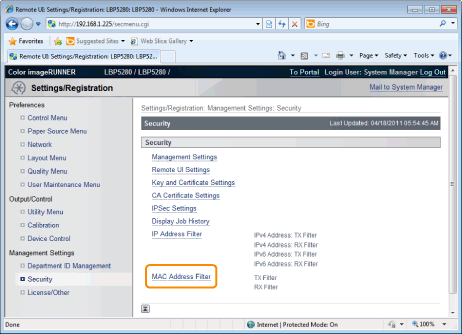
Click [MAC Address Filter].
5
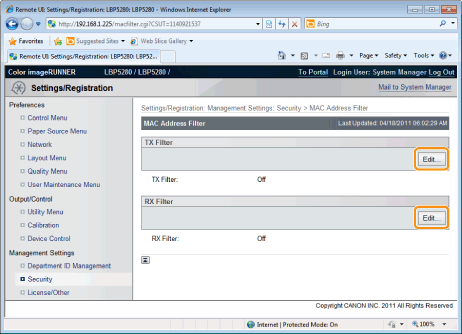
Click [Edit...] under [TX Filter] or [RX Filter].
|
[TX Filter]
|
It limits the sending of data from the printer.
|
|
[RX Filter]
|
It limits the sending of data to the printer.
|
6
Select the [Use Filter] check box, and select [Default Policy].
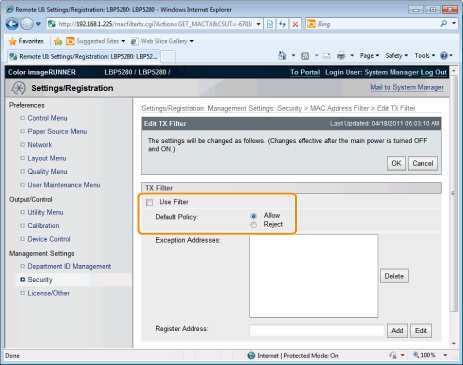
If you select [Reject], you will not be able to transmit or print from users (clients) entered in the [Exception Addresses] field.
If you select [Allow], you will only be able to transmit or print from users (clients) entered in the [Exception Addresses] field.
If you clear the [Use Filter] check box, you will be able to transmit and print from all users (clients).
7
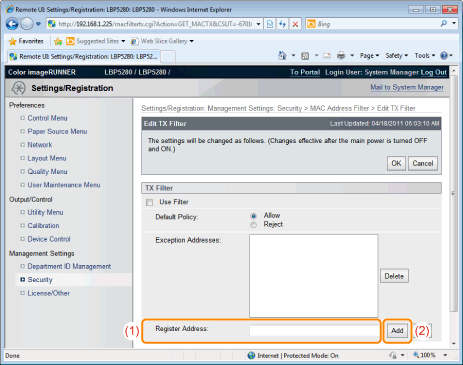
Set the MAC address.
|
(1)
|
Enter the MAC address of a device of which you want to permit to access.
|
||
|
(2)
|
Click [Add].
|
|
NOTE
|
||||
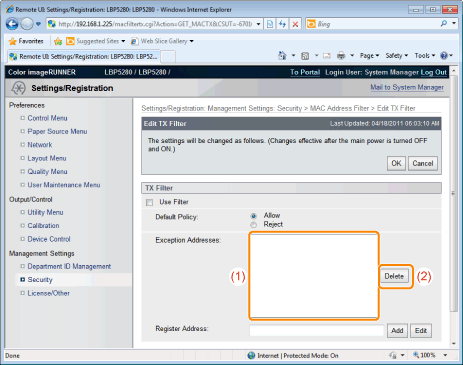
When deleting a set MAC address
 |
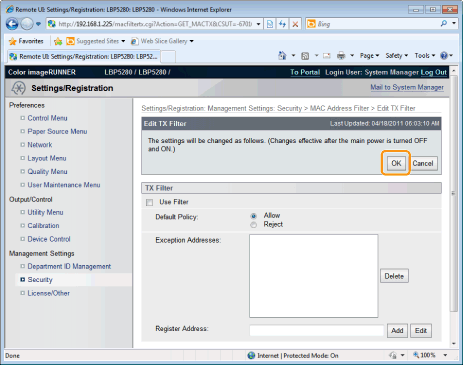
8
Click [OK].
9
Perform a hard reset or restart the printer.
|
→
|
After performing a hard reset or restarting the printer, the settings are effective.
|
|
NOTE
|
||||||
To perform a hard resetYou can perform a hard reset using the following procedure.
|
