Installing the Paper Feeder
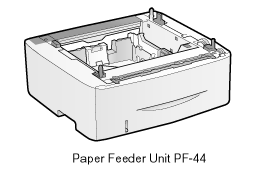
By installing the optional paper feeder in addition to the supplied multi-purpose tray and paper drawer, the printer can feed up to 800 sheets of paper continuously and automatically.
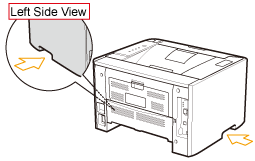
<If the printer is already installed>When installing the paper feeder in the printer after installing the printer, move the printer to an appropriate location temporarily.
 "Moving the Printer" "Moving the Printer"For details on the precautions for when installing the paper feeder, see "Attention (Printer Installation)."
|
1
Take the paper feeder out of the box.
2
Remove the tape attached to the position shown in the figure.

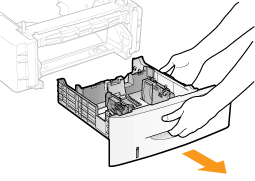
3
Pull out the paper drawer of the paper feeder.
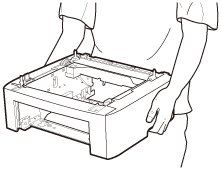
4
Carry the paper feeder to the installation site.
Hold the lift handles when carrying the printer.
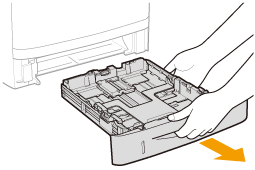
5
Pull out the paper drawer of the printer.
6
Carry the printer unit to the installation site.
After confirming that the covers and trays are closed, carry the printer by holding it by the lift handles from the front side.

7
Gently place the printer on the paper feeder so that each surface of the printer is flush with the front or side surfaces of the paper feeder.

Also, match the positioning pins (A) and connector (B) when placing the printer.
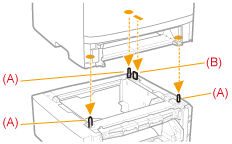
8
Insert the paper drawers in the printer and paper feeder.
Push them into the printer and paper feeder firmly.
|
Next, perform the following procedures.
|