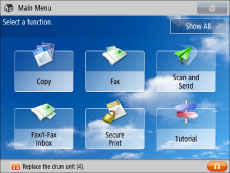
Replacing the Drum Unit
When the drum unit approaches the end of its service life and needs to be replaced, a message appears on the touch panel display. Follow the procedure described below to replace the drum unit. The following example describes the replacement procedure for drum unit 4.
|
IMPORTANT
|
|
For high-quality printouts, when replacing the drum unit we recommend using a Canon drum unit.
Store drum units in a location away from light sources such as direct sunlight.
Storing the drum unit in a room that is cold but rapidly heated, or has other rapid temperature changes, causes water droplets (condensation) to form inside it.
Do not remove the orange protective cover until you insert the drum unit into the machine.
|
|
NOTE
|
|
Depending on your contract, a message prompting you to replace the drum unit may appear on the bottom of the touch panel display.
 When you finish replacing the drum unit, press [Close].
|
1.
Press  .
.
.2.
Open the front cover of the main unit.
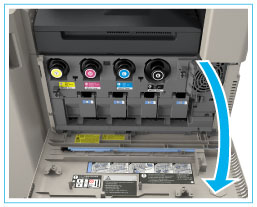
3.
Open the cover of the drum unit.

4.
Pull out the drum unit to replace.
|
IMPORTANT
|
|
Pull out the drum unit while supporting it with your hands as indicated in the diagram.
|
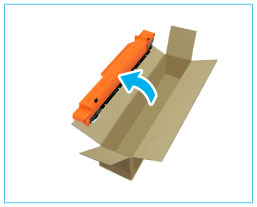
5.
Prepare the new drum unit.
|
IMPORTANT
|
|
Do not remove the orange protective cover yet.
 |
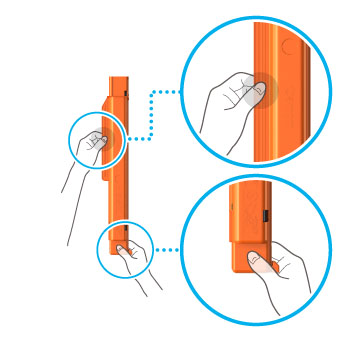
6.
Hold the new drum unit as indicated.
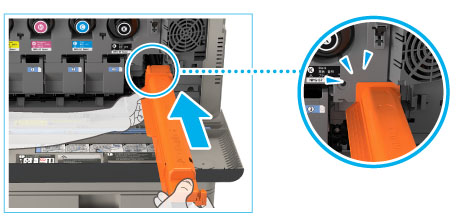
7.
Insert the new drum unit into the main unit with its protective cover attached.
|
NOTE
|
|
Insert the drum unit until the flange of the protective cover touches the main unit.
|
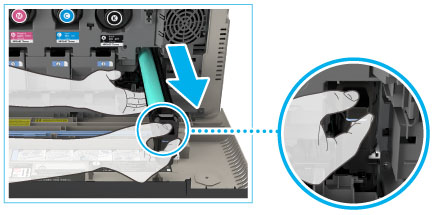
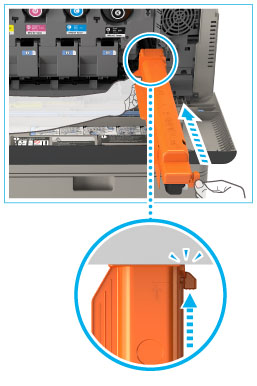
8.
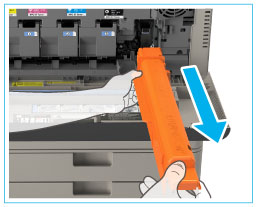
Push the lever on the right side of the protective cover back into the machine.
9.
Remove the protective cover by pulling it out of the machine.
10.
Push the drum unit and confirm that it does not move.

11.
Close the cover of the drum unit.
 CAUTION CAUTION |
|
When closing the front cover of the main unit, be careful not to get your fingers caught, as this may result in personal injury.
|
12.
Follow the procedure in steps 2 to 10 to replace all the drum units that need to be replaced, and then close the front cover of the main unit.