Saving All Settings Information to a Computer (Export All)
The Remote UI enables you to select and save (export) the settings information. You can also select and save the specific items or save all items as one item.
Furthermore, you can import all settings information saved with the Export All function to another machine, regardless of the model.
|
IMPORTANT
|
|
If the Department ID Management settings are included when using Import All, system manager settings, such as ID and password, are overwritten. After using Import All, the system manager settings of the exporting machine are needed when logging in. Make sure to confirm this information before using Export All.
The Export All function is not available in the following situations:
Executing/waiting any jobs (sending, forwarding, receiving fax, receiving i-fax, printing reports, functions specified by the Delayed Send mode)
During an Import/Export Individually operation
Viewing the address book using the Remote UI from another imageRUNNER ADVANCE series
Delivering the device information
While error is occurring
Backing up inbox data
|
1.
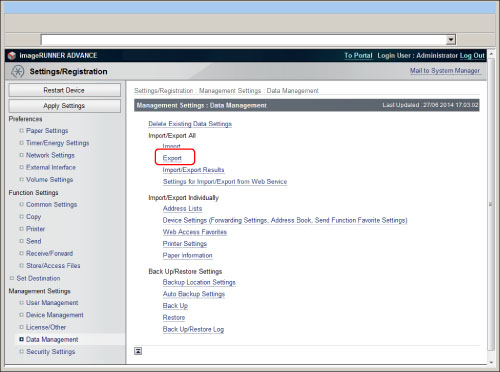
Click [Settings/Registration] → select [Data Management] for <Management Settings>.
2.
Click [Export] for <Import/Export All>.

3.
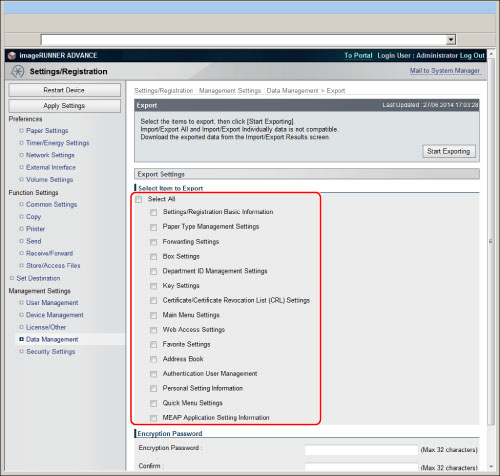
Select items to export.

|
IMPORTANT
|
||||
|
If you export only specific item, connection of the settings information to the multiple items may be lost and the settings may be replaced. In this case, select all relevant items and export.
Examples of settings information related to the multiple items are shown below.
|
4.
Enter the password in [Encryption Password].
Enter the same password in <Confirm>.
5.
Click [Start Exporting].
6.
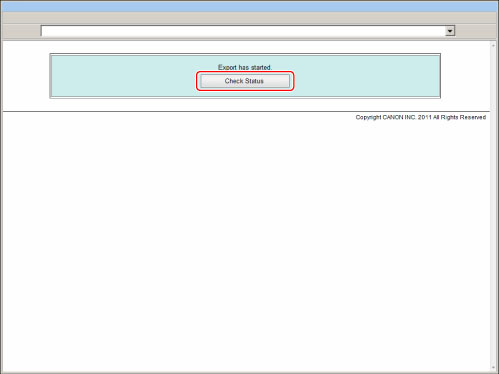
Click [Check Status].

7.
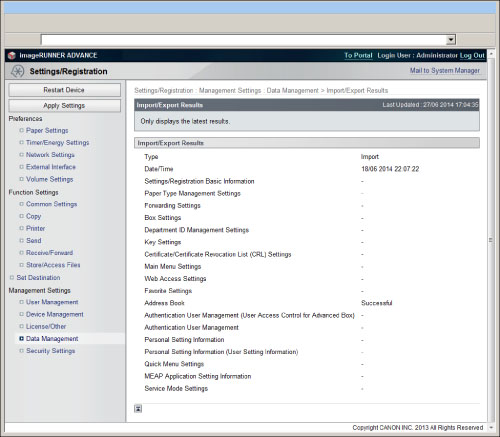
Check the import/export results.

The latest import/export results are displayed.
|
NOTE
|
|
The Import/Export Results screen cannot be displayed until exporting is complete.
If you click [Start Downloading], you can download the export files.
You can also check the latest import/export results by pressing [Data Management] for <Management Settings> → [Import/Export Results].
|
|
IMPORTANT
|
|
During the Export All operation, the Remote UI cannot be used to perform operations (Status Monitor/Cancel, Settings/Registration, Access Received/Stored Files, Address Book, Direct Print).
|
|
NOTE
|
|
Do not export any files while the machine is executing other jobs.
|