Adjusting a Drawer to Hold a Different Paper Size (Cassette Feeding Module-AB1) (Optional)
If you want to change the size of paper in the drawer 2, follow the procedure described below to adjust the drawer guides.
|
NOTE
|
|
Drawer 2 can be used when the optional Cassette Feeding Module-AB1 is attached.
|
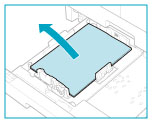
1
Pull out the drawer 2, and remove all the loaded paper.
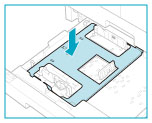
2
Push down the metal plate to lock it.
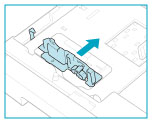
3
Detach the end guide and reattach it to the slots aligned with the mark indicating the desired paper size.
Detach the end guide by pressing down and forward. Align the end guide with the mark indicating the desired paper size. Reattach the end guide by tilting it forward and inserting the tabs at both ends into the slots. Then push the end guide up to return it to its original vertical, upright position.

4
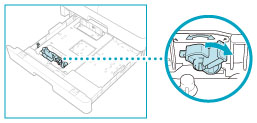
Lift up the lock lever on the front slide guide, and slide it backwards or forwards to align it with the groove marked with the desired paper size.
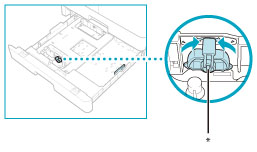
* Lock Lever
5
Lower the lock lever to lock the front slide guide into place.
|
IMPORTANT
|
|
Be sure to set the lock lever correctly. This may also cause paper jams, dirty prints, or make the inside of the machine dirty.
|
6
Load the appropriate size paper into the drawer 2.
 CAUTION CAUTION |
|
Take care not to cut your hands on the edges of the paper when loading it into the machine.
|
7
Gently push the drawer 2 back into the machine until it clicks into place in the closed position.
|
CAUTION |
|
When returning the drawer to its original position, be careful not to get your fingers caught, as this may result in personal injury.
|
8
Specify the size and type of paper you loaded.