Replacing the Drum Unit
When the drum unit needs to be replaced, a message appears on the display. Follow the procedure below to replace the drum unit.
|
IMPORTANT
|
|
When no drum unit is installed in the machine, the message <Drum Cartridge Not Inserted> appears on the display. If this message is displayed, follow the procedure below to install the drum unit in the machine.
|
1
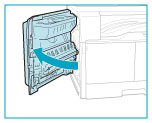
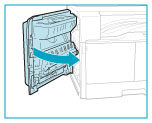
Press the button on the left cover of the main unit, and open the left cover.
|
IMPORTANT
|
|
To avoid damage to the drum unit, always open the left cover wider than 50 mm.
|
2
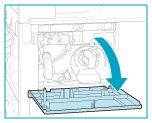
Open the front cover.
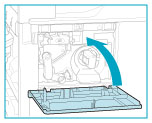
3
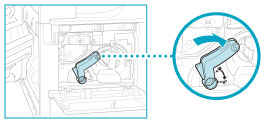
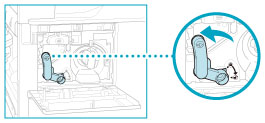
Turn the unlock lever.
4
Turn a screw and remove it.

5
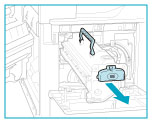
While gripping the handle of the drum unit, pull the unit out slightly upward.
6
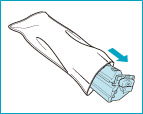
Take the new drum unit out of the package.
|
IMPORTANT
|
|
Do not remove the protective cover before attaching the drum unit to the machine.
|
7
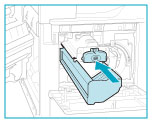
Hold the protective cover of the drum unit, and align it with the slots inside the main unit.

8
While holding the protective cover, insert the drum unit.
|
IMPORTANT
|
|
Be careful not to touch the blue-green part of the drum.
|
9
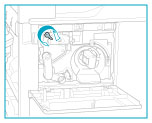
Remove the protective cover of the drum unit.

10
Turn a screw and attach it.
11
Turn the unlock lever to its vertical position.
12
Check the counter.
13
Enter the date and counter value in the drum counter label.
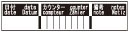
14
Affix the counter label on the drum unit.
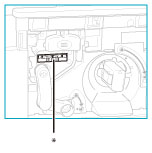
* Counter Label
15
Close the front cover.
 CAUTION CAUTION |
|
When closing the front cover, be careful not to get your fingers caught, as this may result in personal injury.
|
16
Place your hand where the hand symbol is located on the left cover of the main unit, and then gently close the left cover until it clicks into place in the closed position.
|
CAUTION |
|
When closing the left cover, be careful not to get your fingers caught, as this may result in personal injury.
|