Registering a Custom Paper Size
You can register up to three frequently used custom paper sizes.
1
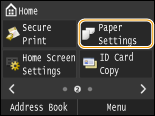
Press  and tap <Paper Settings>.
 and tap <Paper Settings>.
2
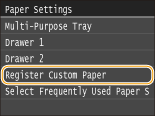
Tap <Register Custom Paper>.
3
Tap <Not Registered>.
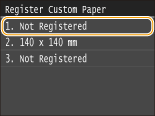
If paper sizes <1> to <3> have already been registered, either change or delete the setting to continue. The procedures for changing and deleting these settings are described below.
 Changing a setting
|
1
|
Select the registered size you want to change.
|
|
2
|
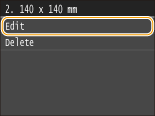
Tap <Edit>, and proceed to step 4.
 |
 Deleting a setting
|
1
|
Select the registered size you want to delete.
|
|
2
|
Tap <Delete>
 <Yes>. <Yes>.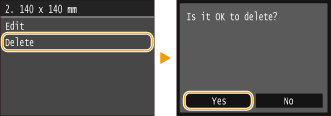 |
4
Specify the paper size.
|
1
|
Specify the length of the <X> (shorter) side.
Tap <X>.
Input the length of the <X> side using
 / / or the numeric keys, and tap <Apply>. or the numeric keys, and tap <Apply>.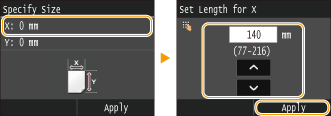 |
|
2
|
Specify the length of the <Y> (longer) side.
Tap <Y>.
Input the length of the <Y> side, and tap <Apply>.
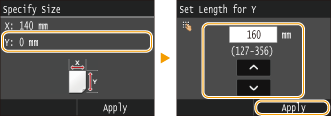 |
|
3
|
Tap <Apply>.
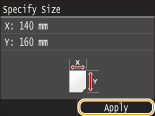 |
5
Select the paper type.
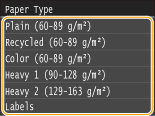
Selecting a Registered Custom Paper Setting
The paper sizes that are registered in the procedure above are displayed on the screen for selecting the paper size.
 When selecting the paper size for the paper drawer
On the screen to specify the size of the paper that is loaded in the paper drawers, the registered paper sizes are displayed. Specifying Paper Size and Type in the Paper Drawer
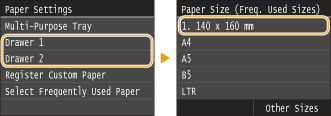

Of the registered paper sizes, only those that can be loaded in a paper drawer are displayed. Paper
 When selecting the paper size for the multi-purpose tray
When paper is loaded in the multi-purpose tray, the screen for selecting the paper size for the multi-purpose tray is displayed. The registered paper sizes are displayed on this screen. Specifying Paper Size and Type in the Multi-Purpose Tray
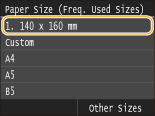

The registered paper sizes are displayed when you set the default paper settings for the multi-purpose tray. From the screen, you can select one of the displayed sizes as the default paper size for the multi-purpose tray. Registering Default Paper Settings for the Multi-Purpose Tray