
Replacing the Toner Cartridge
0UUY-0H9 0UW1-0H9 0YRY-0H4 0X7F-0K9 0X7H-0K9 1100-0H7 0X6E-0K9 0X6W-0K9 10XJ-0H7 0X7C-0K9 0X7A-0K9 1106-0H7 0WXY-0KA 0X7E-0K9 10YY-0H7 10H3-0H5 0WR6-0KH 0WR7-0KH 108A-0H6 1116-0H6 10H4-0H5 0WR5-0KH 0WR8-0KH 0YWJ-0J3 0YWH-0K9 0YWR-0HX 0YWK-0K9 0YWE-0K9 0YWF-0K9 0YAS-0H7
When toner starts running low or has run out, a message is displayed prompting you to prepare a new toner cartridge or perform toner cartridge replacement. Prepare a new toner cartridge or perform toner cartridge replacement according to the displayed message.
 |
For details about each message, see Countermeasures for Each Message. For information on the product numbers for toner cartridges, see Consumables. You can check the current amount of toner remaining. Checking the Remaining Toner Level |
Procedure for Replacing the Toner Cartridge
1
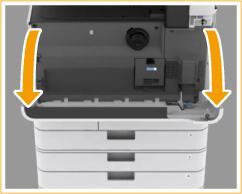
Open the front cover.
2
Pull out the toner cartridge.
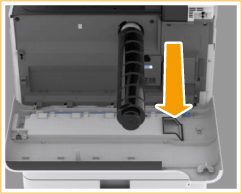

Make sure to avoid applying shocks to the toner cartridge by hitting it against something, etc. Doing so may cause the toner to leak.
3
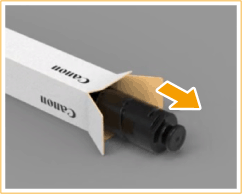
Remove the new toner cartridge from its box.
4
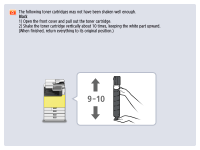
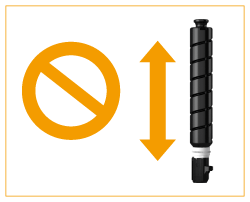
With the white part of the new toner cartridge facing up, shake the toner cartridge up and down approximately 10 times.
Shaking the toner cartridge evens out the toner inside.
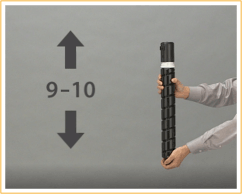

An error message is displayed if you install the toner cartridge before the toner inside has evened out. Follow the instructions on the screen and perform the procedure again.
Do not have the white part of the toner cartridge face down. Doing so may prevent the toner from being supplied properly.
5
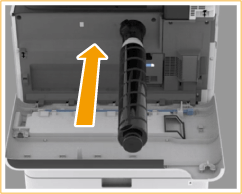
Install the new toner cartridge.
With the flat surface of the toner cartridge facing down, slide the toner cartridge as far as it will go.
6
Close the front cover.
 |
If printing was interrupted because toner ran out, it will automatically resume when you replace the toner cartridge. If the gradation and density of printing differ after replacing the toner cartridge, perform adjustment. |