Adjusting the Print Position
If text or images are printed off-center or outside of the printable range, you can adjust the print position to improve printing results.
You can specify the adjustment direction and width for each paper source and print side (front and back side).
You can specify the adjustment direction and width for each paper source and print side (front and back side).

Use the operation panel to perform adjustment. You cannot perform adjustment using Remote UI from a computer.
1
On the operation panel, press [Menu] in the [Home] screen. [Home] Screen
2
Press [Adjustment/Maintenance]  [Adjust Image Quality] [Adjust Print Position].
The [Adjust Print Position] screen is displayed.
3
Select the paper source for which you want to adjust the print position.
4
Select a combination of the adjustment direction and print side.
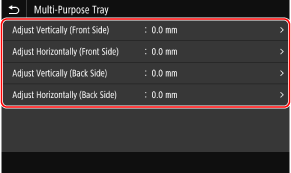
Example: When adjusting the print position of the front side of the paper in the vertical direction
Select [Adjust Vertically (Front Side)].
Select [Adjust Vertically (Front Side)].
5
Enter the adjustment value, and press [Apply].
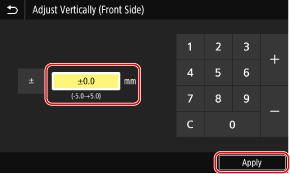
Specify the adjustment direction using + and -, and specify the adjustment width in units of 0.1 mm.
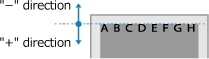
 When Adjusting Vertically
Specify the adjustment width by selecting a positive value to adjust down on the paper or a negative value to adjust up on the paper.
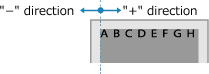
When Adjusting Horizontally
Specify the adjustment width by selecting a positive value to adjust to the right on the paper or a negative value to adjust to the left on the paper.