Scanning (Saving to a USB Memory Device)
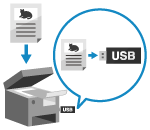
 | You can scan an original and save the scanned data to a USB memory device connected to the machine. This is convenient when using scanned data on a computer without a network connection or when on the go. |
Required Preparations |
The settings enable saving of scanned data to a USB memory device. Preparing to Save Scanned Data to a USB Memory Device |
1
Place the original. Placing Originals
2
Insert a USB memory device into the USB port on the machine. Inserting and Removing a USB Memory Device
If the memory media operation screen appears, press [USB Scan], and proceed to step 5.
3
On the operation panel, press [Scan] in the [Home] screen. [Home] Screen
The scan type selection screen is displayed.
4
Press [USB Memory].
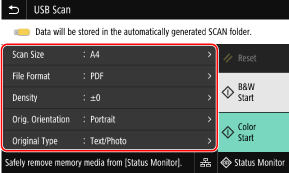
The scan screen is displayed.
5
Configure the scan settings. Scan Settings

Scanned data is saved with the following file name.

 Default string (Can be changed. Setting File / Division)
 Four-digit number
6
Press [Start B&W] or [Start Color].
Scanning of the original starts.
To scan the original in black and white, press [Start B&W], and to scan in color, press [Start Color].
To cancel scanning, press [Cancel]  [Yes]. Canceling Scanning
 [Yes]. Canceling Scanning
When scanning is completed, a folder with the name "SCAN_nn" (where nn is a number) is created on the USB memory device, and the scanned data is saved to that folder.
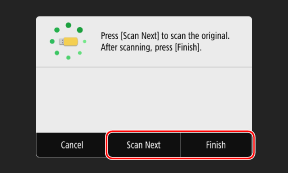
 When [Scan Next] appears
After the original is placed on the platen glass and is scanned in PDF or TIFF format, the screen for scanning additional originals is displayed.
To continue scanning originals, place on the platen glass, and press [Scan Next].
Press [Finish] to save the scanned data.
To continue scanning originals, place on the platen glass, and press [Scan Next].
Press [Finish] to save the scanned data.

* If the size of the original is different, part of the image may be missing, or the image may be scanned smaller.
7
When scanning is completed, remove the USB memory device. Removing the USB Memory Device