
Paper Jams inside the Machine or in the Fixing Unit
Check the paper jam location on the screen, and follow the procedure below to remove the paper.
 |
Confirm before handlingBefore starting the operation to clear paper jams, confirm that the covers and paper drawers of the machine and optional equipment are closed. |
1
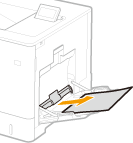
Gently pull out the paper.
2
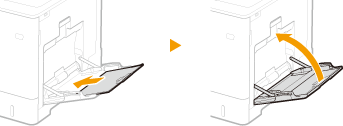
Close the tray.
3
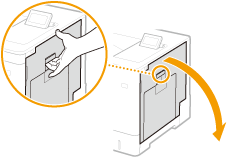
Open the right cover.
4
Gently pull out the paper.

5
Remove the jammed paper in the delivery unit.
1 | Lift up the delivery unit. 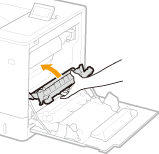 |
2 | Lower the green levers on both sides of the transport guide. 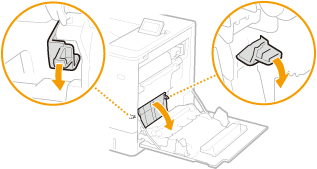 |
3 | Gently pull out the paper. Pull out the paper while holding it as horizontally as possible to prevent unfixed toner from falling. 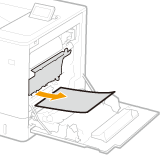 |
6
Check whether there is a paper jam in the fixing unit.
1 | Turn the delivery unit downward. 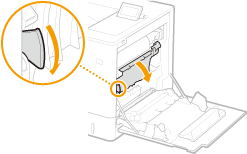 |
2 | Hold the handles on both sides of the fixing unit, and pull out the fixing unit straight toward you.  |
3 | Open the cover. 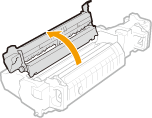 |
4 | Gently pull out the paper. Pull out the paper while holding it as horizontally as possible to prevent unfixed toner from falling. 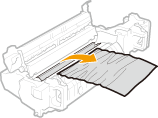 |
5 | Close the cover. |
6 | Gently pull out the paper. Determine in which way you can pull out the jammed paper more easily, and try that way first. Pull out the paper while holding it as horizontally as possible to prevent unfixed toner from falling.  |
7 | Place the fixing unit back into position. Fully push it in until it cannot go any further.  |
7
Close the right cover.

When the message is still displayed
Paper may be jammed in other locations. Check other locations, and remove jammed paper if any. If the message is still displayed, check whether the right cover is securely closed.