Sending a Fax from a Computer
This explains the basic procedure for fax transmission from a computer of documents created in an application.
Also, refer to the help regarding items in the settings screen of the driver.
 NOTE
NOTEWhen using a device connected via a WSD port, enable [Use WSD] at the device.
Prerequisites
If you cannot retrieve the device information, you need to manually set the options installed in the device.
Procedures
1.
Open a document in the application → display the print screen.
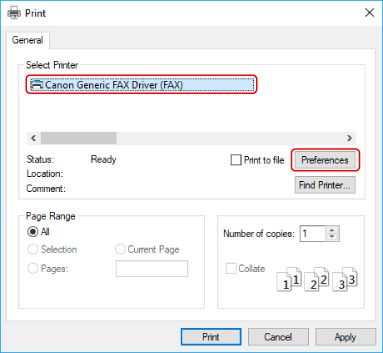
2.
Select the device you are using → click [Preferences].
Depending on the application, [Preferences] may be called "Printer properties" or "Properties."
If you do not need detailed fax transmission settings, click [Print] or [OK] and proceed to step 5.
3.
Set the necessary items in the print settings screen of the driver → click [OK].
If necessary, switch sheets and configure other settings.
[Select Destination] sheet > [Store Sent Fax Information and Image], [Cover Sheet] and [Detailed Settings] can also be set when sending a fax in step 5.
4.
Click [Print] or [OK] in the print screen of the application.
Specify a destination from the displayed [Fax Sending Settings] screen.
When specifying a destination from the address book
(1) Display the [Select Destination] sheet.
(2) Select the address book from [Address Book List].
When the sub address books are displayed in [List of Address Lists], select the target sub address book.
(3) Select a destination → click [Add to Destination List].
When entering a destination directly
(1) Display the [Enter Destination] sheet.
(2) Select the communication mode to use from [Communication Mode].
(3) Select [Fax Number/URI] → specify [Fax Number] or [URI].
If necessary, set other items.
6.
In the [Fax Sending Settings] screen, click [Send].
When the confirmation dialog box is displayed, confirm the destination name and destination fax number, and click [OK].
NOTETo cancel sending, click [Cancel] on the [Fax Sending Settings] screen.
With some applications, an error message may be displayed even if sending is canceled successfully. In this case, click [OK].