Scanning from the MF Toolbox
This explains the basic procedure for scanning using the MF Toolbox.
1.
Set the original in the device.
2.
Set the device to online.
If [System Management Settings] > [Auto Online for Remote Scan] is disabled, select [Scan] > [Remote Scanner] from the scan functions screen and set it to online. For details, refer to the manual of the device.
3.
Click "Apps" in "Dock" → click [MF Toolbox].
The main dialog corresponding to the device selected in the MF Toolbox is displayed.
To change the device, select the menu bar > [Scanner] → select the device name.
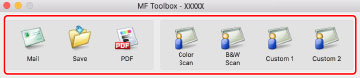
4.
Click an icon such as [Mail], [Save], etc. according to your needs.
5.
Change the scan settings if required.
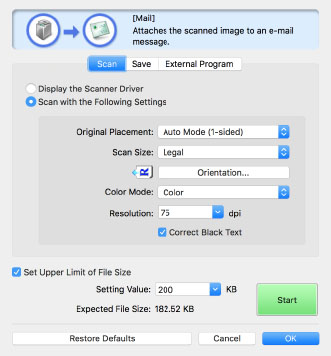
6.
Click [Start].

The scanned image is saved to the folder specified in the [Save] pane > [Save Scanned Image to] in the scan dialog.