Displaying Print Previews in Quick Printing Tool
You can drag and drop documents/folders to the Quick Printing Tool to start Document Binder and display a print preview. In Document Binder, you can reduce margins and perform tasks such as printing and sending faxes. If you select multiple documents/folders, you can convert them to a binder document or PDF document.
In addition, refer to the following as necessary.
1.
Drag and drop a document to Quick Printing Tool.
|
Note
|
|
The Quick Printing Tool is displayed in front if you press the [T] key on the keyboard while dragging, or near the mouse cursor if you press the [N] key on the keyboard while dragging.
You can change the settings assigned to the keys. For more information, see the following.
|
A popup menu is displayed.

2.
Drop the file on [Print Preview].
The menu that the mouse cursor is currently over is highlighted in yellow.
When you drag and drop multiple documents or folders, the [Multiple Document Order Settings] dialog box is displayed. In this case, proceed to step 3. If you selected a single document, Document Binder starts and the print preview is displayed.
|
Note
|
|
If you right-click to select the document or folder, and drag and drop it to [Print Preview], the following menu is displayed.
[Multiple Document Order Settings]: Displays the [Multiple Document Order Settings] dialog box.
[Cancel]: Cancels the print preview.
|
3.
Select a document in [Multiple Document Order Settings] and click  or
or  to specify the order of print previewing (importing) the documents.
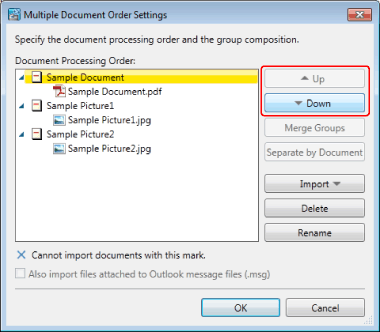
For details on the [Multiple Document Order Settings] dialog box, see the following.
4.
Click [OK].
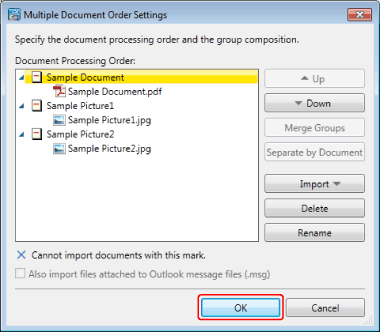
Document Binder starts and a print preview is displayed.
|
Note
|
|
For more information on how to operate Document Binder, see the following.
The [Print] dialog box or the [Printing] dialog box of the application used to created the document may be displayed. In this case, select Desktop Document Writer as the output printer and print.
|