Scanning from the Machine
 |
|
The sequence of "scanning a document and saving it to a computer" can only be done when scanning from the machine. Scan while specifying what computer documents will be saved to; whether to scan documents in color or black and white; whether to save documents as PDFs or JPEGs; and other settings.
|
1.
Place the document(s). Placing Documents
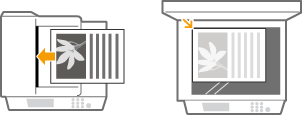
2.
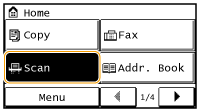
Press  and tap <Scan>.
 and tap <Scan>.
3.
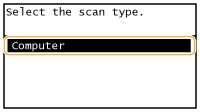
Tap <Computer>.
4.
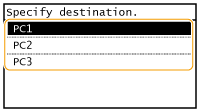
Select the destination computer.
This screen is not displayed if only a computer is connected to the machine via USB.
5.
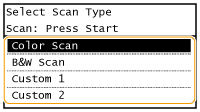
Select the scan type.
|
Scan type
|
Color
|
Resolution
|
File format
|
|
<Color Scan>
|
Color
|
300 dpi
|
PDF (searchable)*1/ High compression
|
|
<B&W Scan>
|
Black and white*2
|
300 dpi
|
TIFF
|
|
<Custom 1>
|
Color
|
300 dpi
|
JPEG/Exif
|
|
<Custom 2>
|
Color
|
300 dpi
|
PDF (searchable)*1/ Standard compression
|
|
*1 A PDF format where characters on the document are scanned as text data and the text can be searched using a computer.
*2 Documents are scanned in black and white only, with no intermediate shades of gray.
|
|||

To change settings
You can change settings from MF Toolbox. Configuring Scan Settings in MF Toolbox
6.
Press  .
.
 .
.Scanning starts.
To cancel, tap <Cancel>  <Yes>.
 <Yes>.
|
|
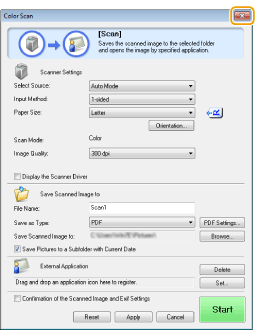
 You cannot scan while the MF Toolbox setup screen is displayed. Close the screen before scanning.
|
|
 |
 When placing documents in the feeder in step 1
When scanning is complete, the save destination folder is displayed on the computer.
 When placing documents on the platen glass in step 1
When scanning is complete, follow the procedure below.
|
1
|
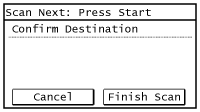
If there are additional pages of documents to be scanned, place the next document on the platen glass, and press
 . . Repeat this step until you finish scanning all of the pages.
When there is only one page to be scanned, proceed to the next step.
|
|
2
|
Tap <Finish Scan>.
The save destination folder is displayed on the computer.
|
 |
About the save destination folderBy default, the scanned data is saved to the [Pictures] or [My Pictures] folder. A subfolder named with the scanning date is created, and the data is saved to that folder.
To change the save destination, see Configuring Storing Settings.
|
 |
Scan from the machine more easilyIf you have regularly used preferences, such as scanning in color or black and white, or a pre-determined computer where scanned documents will be saved, specifying these settings each time you scan can be troublesome. Register these settings in a <Scan -> PC> button so that you can scan with one press of a button. There are two <Scan -> PC> buttons: <Scan -> PC1> and <Scan -> PC2>. You can register your settings in either of these buttons. Scanning Using the <Scan -> PC> Button
|