Sending an E-mail to Multiple Destinations
If you register a group that includes multiple e-mail addresses in the address book, you can send to all of the e-mail addresses included in that group at once by selecting that group as the destination.
Benefits from Sending to a Group
You can send an e-mail to multiple destinations at once.
|
Required Condition
|
|
The Send function is available for use.
Network settings are set.
E-mail settings are set.
|
This section describes how to store three previously registered e-mail addresses as "group1," and send a two page e-mail to that group.
The screens may differ, depending on the model of the machine and on attached optional products.
Follow the procedures below.
Registering a New Group
Sending an E-Mail
Registering a New Group
You can operate this procedure using the touch panel display or the Remote UI.
Using the Remote UI
1.
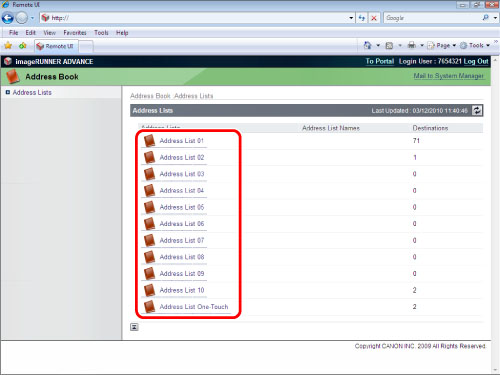
Access the Remote UI → click [Address Book] → select the address book from the list.
2.
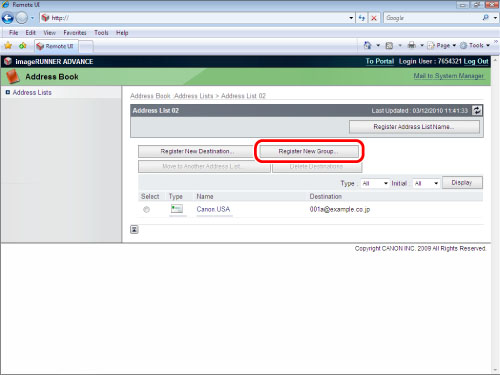
Click [Register New Group]
3.
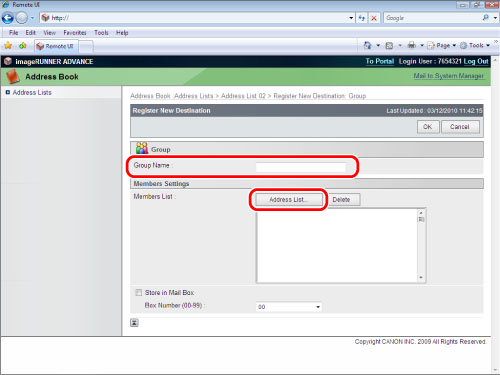
Enter Group 1 in [Group Name] → click [Address List] on the [Members List].
4.
Select the e-mail addresses that you want to store in the group → click [OK].

Using the Touch Panel Display
1.
Press  (Settings/Registration) → [Set Destination] → [Register Destinations] → [Register New Dest.] → [Group].
(Settings/Registration) → [Set Destination] → [Register Destinations] → [Register New Dest.] → [Group].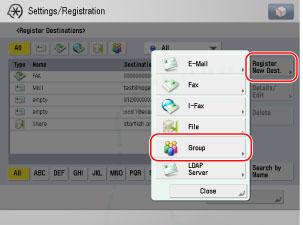
2.
Press [Add from Address Book] → select the e-mail addresses that you want to store in the group → press [OK].
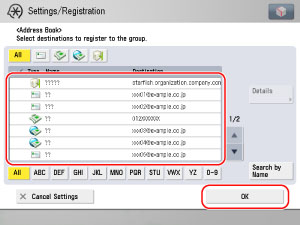
Repeat this step and select total of three e-mail addresses.
3.
Press [Name] → enter 'group1' as the new group name → press [OK] → [Next] → [OK].
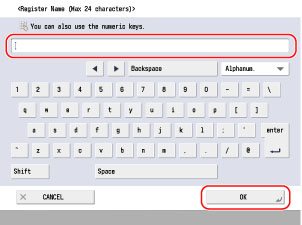
A new group destination is registered.
Sending an E-Mail
1.
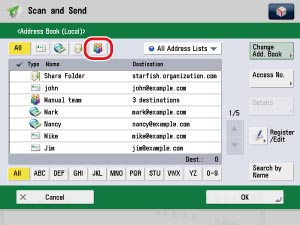
Press [Scan and Send] on the Main Menu screen → [Address Book] → [ ].
].
].
|
NOTE
|
|
If the Main Menu screen is not displayed, press
 (Main Menu). (Main Menu). |
2.
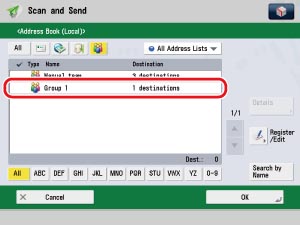
Select the newly registered destination [group1] → press [OK].
3.
Place the original in the feeder or on the platen glass → press  (Start).
(Start).An e-mail is sent.
4.
Press  (Status Monitor/Cancel) → [Send] → [Log] → check that the e-mail was sent successfully.
(Status Monitor/Cancel) → [Send] → [Log] → check that the e-mail was sent successfully.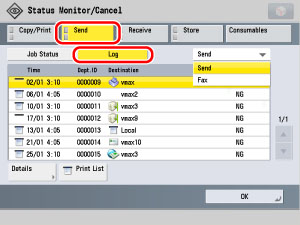
If the result is <OK>, the e-mail was sent successfully.
If the result is <NG>, the e-mail was not sent because of an error.