Printing Fundamentals (USB Memory)
Print the data saved in the USB memory media connected to this product.
This section describes the basic procedure.
1
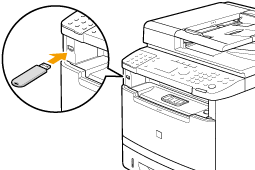
Insert a USB memory media into the USB memory port.
The machine will begin to read the device when a USB memory is inserted. Do not touch or remove the device from the port.
2
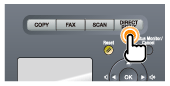
Press [ ].
].
].
3
Select <Select File(s) to Print> using [ ] or [
 ] and press [OK].
] or [] and press [OK].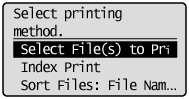
|
NOTE
|
||||
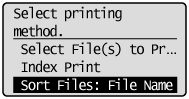
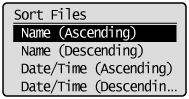
To sort files
|
4
Select a file to print.
5
Specify the print settings as needed.
The following settings can be changed.
Quantity
Paper
N on 1
Date Printing
File name printing
Document Type
Brightness
The settings specified here are effective only for the current task. To make the settings effective for all operations, see "Changing the Default Values for Media Printing."
6
Press [ ] (Start).
] (Start).Printing begins.
|
NOTE
|
||||||||||||
When removing the USB memory media form the port
|
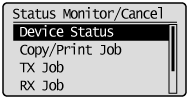
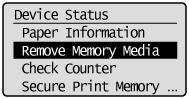
 ] (Reset).
 ] (Status Monitor/Cancel).