Uninstalling the Software
Follow the steps in the procedure below to uninstall the printer driver, fax driver, scanner driver, or MF Toolbox if you do not need them installed on your computer.
Note that uninstallation procedures vary depending on how you installed the MF drivers.
When the MF Drivers are installed from the CD-ROM's setup screen
When the MF Drivers are installed using the WSD port
|
IMPORTANT
|
|
Be aware of the following before uninstalling the software.
Log on to your computer with administrator privileges.
Have the installation software ready in case you want to re-install the drivers.
Quit all running applications on your computer.
|
Uninstalling Using the Uninstaller
To uninstall the printer/fax/scanner driver
1
From the [Start] menu, click [(All) Programs] -> [Canon] -> [MF5900 Series] -> [Uninstall Drivers].
2
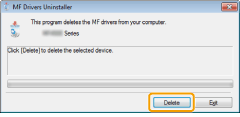
Click [Delete].
3
Click [Yes] to confirm the uninstallation.

4
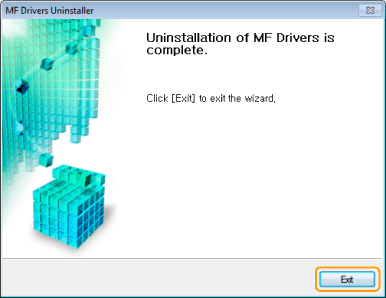
Click [Exit] (or [Restart]).
To uninstall the MF Toolbox
1
From the [Start] menu, click [(All) Programs] -> [Canon] -> [MF Toolbox 4.9] -> [Toolbox Uninstall].
2
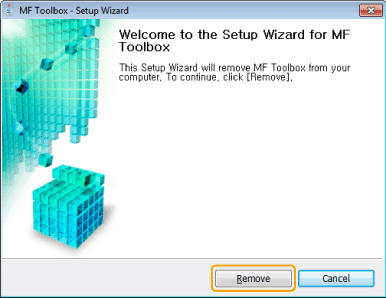
Click [Remove].
3
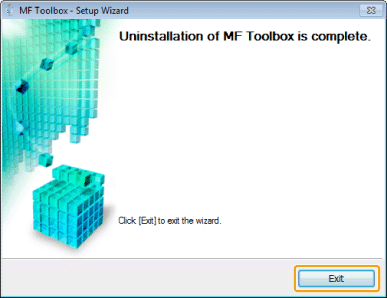
Click [Exit].
Uninstalling the WSD Device
1
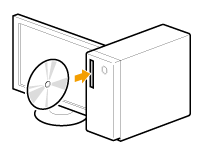
Insert the User Software CD-ROM into the slot on your computer.
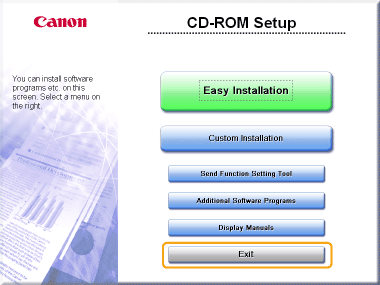
When the following screen appears, click [Exit].

|
|
|
Select [Open folder to view files], and then proceed to Step 4.
|
2
Select [Computer] from the [Start] menu.
3
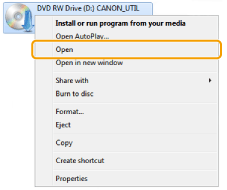
Right-click the CD-ROM icon and select [Open] from the pop-up menu.
4
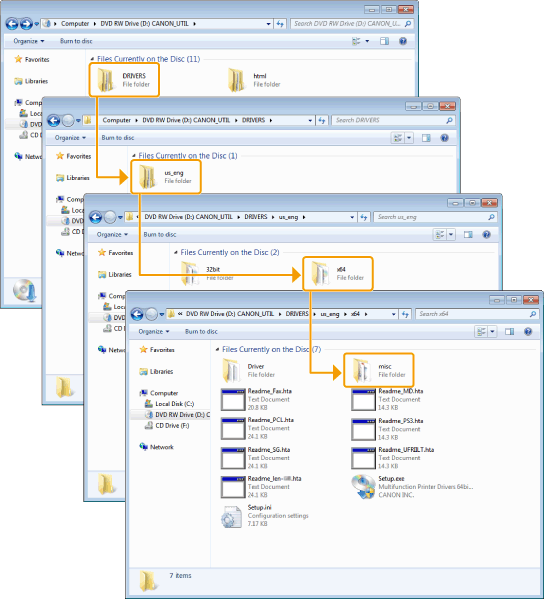
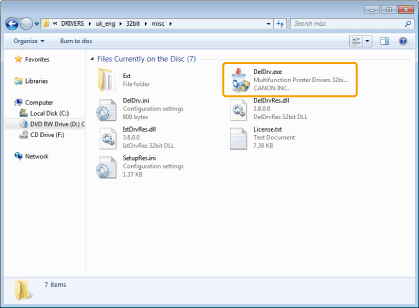
Open the folder that contains the uninstaller.
For 32-bit
Successively double-click on the folders [DRIVERS], [uk_eng], and [32bit] to open the [misc] folder.

For 64-bit
Successively double-click on the folders [DRIVERS], [uk_eng], and [x64] to open the [misc] folder.
5
Double-click [DelDrv.exe].
 When [User Account Control] appears When [User Account Control] appears |
|
Click [Yes] or [Continue].
|
6
Click [Delete].

7
Click [Yes].

8
Click [Exit].
 |
Eject the CD-ROM from the CD-ROM drive when the following screen appears.
|

9
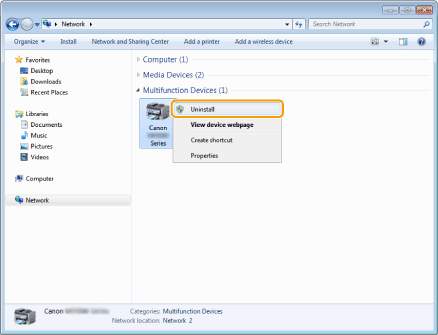
Open the network folder.
For Windows Vista/Server 2008
Select [Network] from the [Start] menu.
For Windows 7/Server 2008 R2
Select [Computer] from the [Start] menu and click [Network].
10
Right-click the machine icon and select [Uninstall] from the pop-up menu.
 When [User Account Control] appears When [User Account Control] appears |
|
Click [Yes] or [Continue].
|
→ The machine icon is deleted from the printer folder. Uninstallation is complete.
