Displaying or Operating the Jobs Stored in a Box (Resume/Delete)
1
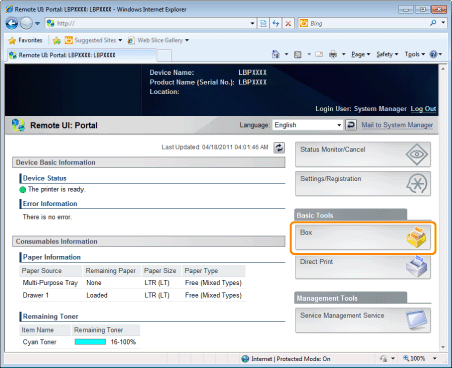
Start the Remote UI, and then log in as Administrator.
2
Select [Box] Menu.
3
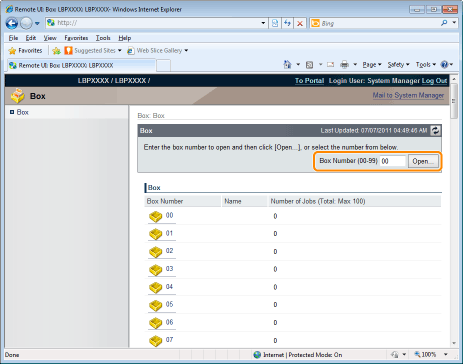
Enter the box number of the box where the job that you want to check or operate is stored, and then click [Open...].
You can also display the job list inside the box by clicking on the icon displayed on the Box Number.
 |
If a password is specified for the box, enter the password, and then click [OK].
|
4
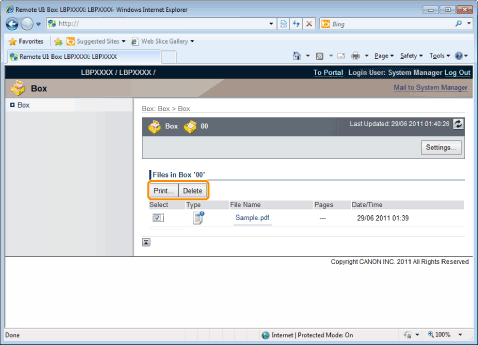
When you want to operate any stored job, perform the following procedure.
|
(1)
|
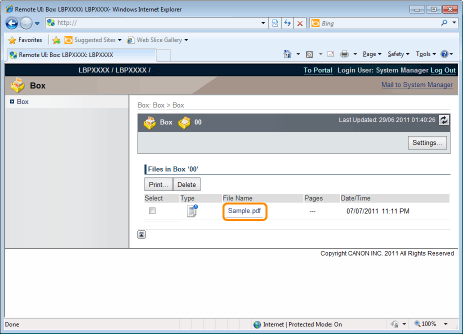
Select the [Select] check box by the first job on the list.
|
|
(2)
|
Click the operation buttons.
[Print...]: Prints the selected job.
[Delete]: Deletes the selected job.
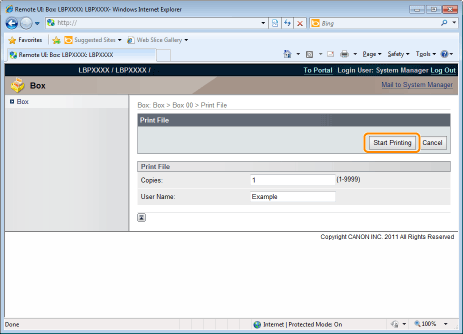
You can display the page that allows you to change the print copies etc. by clicking [Print...].
 |
|
(3)
|
Change the settings, and then click [Start Printing].
 |
|
NOTE
|
Changing the number of the print copiesYou cannot change the number of the print copies depending on the job.
Also, changes to print runs of saved jobs that have [Prioritize Print Ticket] set in XPS format will be ignored.
Displaying a document nameA job file name of up to 32 characters can be displayed for a document name. If the file name has more than 32 characters, the characters after the limited number are not displayed. Also, depending on the application, the application name may be added to the beginning of the file name.
|
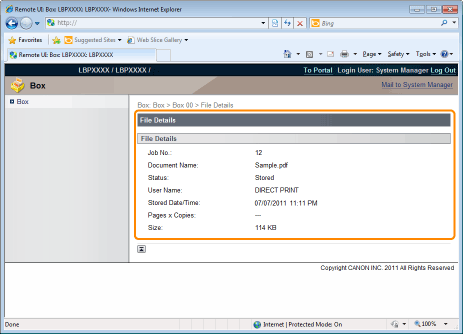
5
Click the document name to display details of the saved job.
6
The detailed information of the stored jobs is displayed.