When Changing the IP Address (Changing the Port)
If you changed the IP address or name of the printer (the DNS name to be registered on the DNS server) after installing the printer driver, you need to change the port to be used in the printer driver.
 |
You cannot print unless you change the port.
|
1
Open the printer folder.
2
Right-click the icon for this printer, and then select [Properties] or [Printer properties] from the pop-up menu.

3
Perform the following procedure.
|
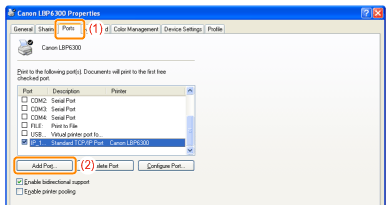
(1)
|
Display the [Ports] sheet.
|
|
(2)
|
Click [Add Port].
|
4
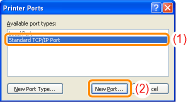
Select the port type.
|
(1)
|
Select [Standard TCP/IP Port].
|
|
(2)
|
Click [New Port].
|
5
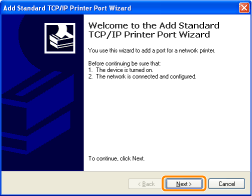
Click [Next].
6
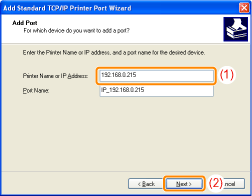
Enter the new IP address or name of the printer.
|
(1)
|
Enter the IP address or name* of the new printer in [Printer Name or IP Address].
|
||
|
(2)
|
Click [Next].
|
 If you are not sure about the value to be entered in [Printer Name or IP Address] If you are not sure about the value to be entered in [Printer Name or IP Address]The value to be entered varies depending on how the IP address of the printer was set.
 If the printer is not detected If the printer is not detectedFollow the on-screen instructions and search again for the printer, or see "Basic Operations/Various Information for Windows" and specify [Device Type].
|
7
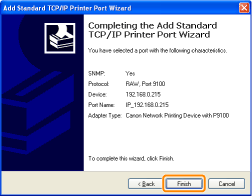
Click [Finish].
8
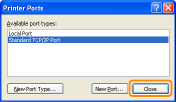
Click [Close].
9
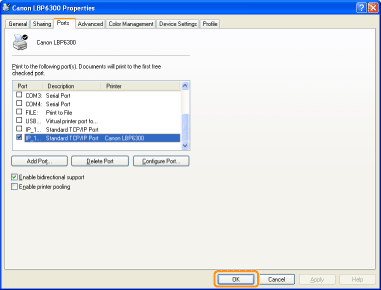
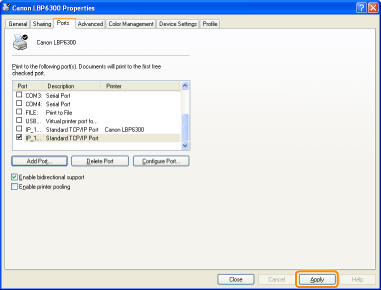
Click [Apply].
10
Click [OK].
