Printing with a Gutter
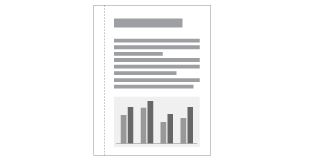
You can specify a gutter of 0 to 30 mm for the paper to be printed.
When a gutter is specified, the position of the page image is adjusted to make room for the gutter. At this point, you can select whether to reduce the image size to fit the remaining space.

1
Display the setting screen of the printer driver.
2
Perform the following procedure.
|
(1)
|
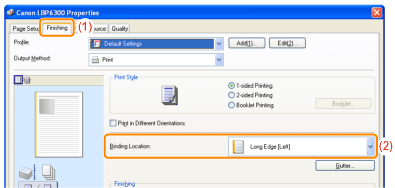
Display the [Finishing] sheet.
|
|
(2)
|
Select an edge on which the gutter is to be located.
|

|
NOTE
|
Using Preview to specify the settingYou can also specify the gutter by clicking an edge of the document image on Preview when [
 ] is selected. ] is selected. |
3
Set the gutter.
|
(1)
|
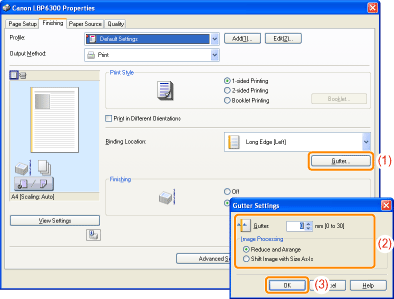
Click [Gutter].
|
||
|
(2)
|
Specify each setting.
|
||
|
(3)
|
Click [OK]. Then, the [Finishing] sheet reappears.
|

4
Click [OK].
 |
For details on the basic printing procedure, see "Basic Printing Procedure."
|