Installing NetSpot Device Installer
 |
You can also use NetSpot Device Installer without installing it.
|
1
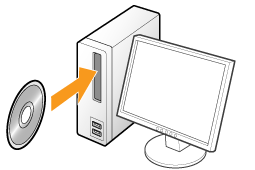
Insert the supplied CD-ROM "User Software" into the CD-ROM drive of your computer.
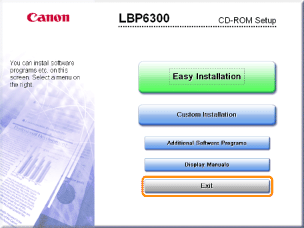
When the following screen appears, click [Exit].
 If the [AutoPlay] dialog box appears If the [AutoPlay] dialog box appearsSelect [Open folder to view files], and then proceed to Step 4.
|
2
Display [My Computer] or [Computer].
3
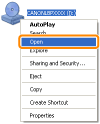
Right-click the CD-ROM icon, then select [Open] from the pop-up menu.
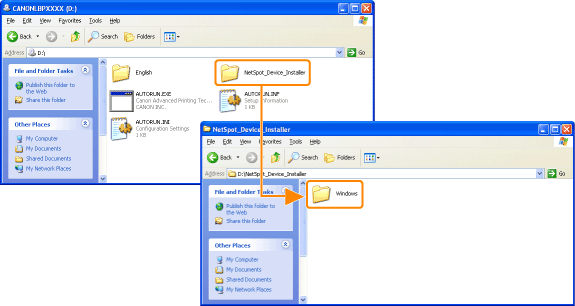
Open the [NetSpot_Device_Installer] - [Windows] folders.
5
Double-click [nsdisetup.exe].
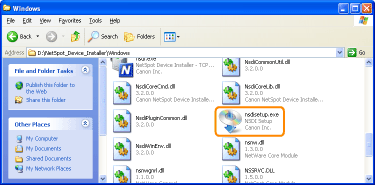
 If the [User Account Control] dialog box appears If the [User Account Control] dialog box appearsClick [Continue] or [Yes].
|
6
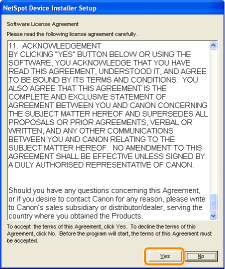
Read the contents of License Agreement, and then click [Yes].
7
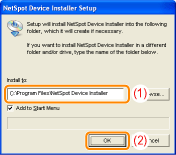
Start the installation.
|
(1)
|
Check the installation directory.
|
||||
|
(2)
|
Click [OK].
|
When the following screen appears, click [Yes].

8
Click [OK].

9
Click [Cancel].
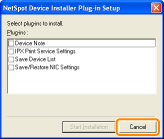
 ] in [NetSpot Device Installer for TCP/IP] in the [Additional Software Programs] screen in CD-ROM Setup.