Checking the Security Access Logs
You can check the obtained security access logs using the Remote UI.
It also allows you to save or clear the security access logs.
1
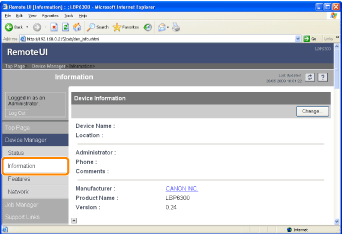
Start the Remote UI, and then log in as Administrator.
2
Select [Information] from the [Device Manager] menu.
3
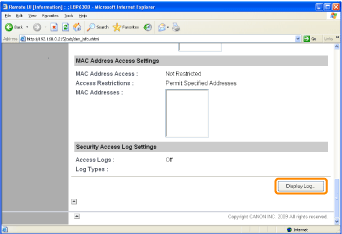
Click [Display Log] under [Security Access Log Settings].
4
Check the security access logs or other information.
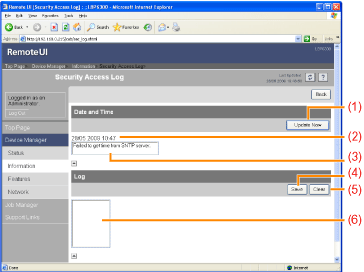
(1) |
[Update Now]Clicking this button obtains information about the date and time from the SNTP server.
Reflects the obtained status to [Date and Time] and [SNTP Server Log] according to success or failure of obtaining information.
|
||||
(2) |
[Date and Time]Displays the date and time obtained from the SNTP server.
The local time of the printer is displayed when the time and date could not be obtained for some reason, such as that the SNTP server address is not specified.
|
||||
(3) |
[SNTP Server Log]Displays the obtained status from the SNTP server.
When succeeded in obtaining the status
Synchronized with the SNTP server at <The date and time when they were obtained>. Next synchronization in <The date and time when they are to be obtained next>. While in the process of obtaining the status
Getting time from SNTP Server. When failed to obtain the status
Failed to get time from SNTP Server. |
||||
(4) |
[Save]Saves the obtained security access log in text format.
|
||||
(5) |
[Clear]Clears the obtained security access logs.
|
||||
(6) |
[Security Access Log]Displays the obtained security access logs.
The date and time when the access was blocked, IP address, port number, and restriction type* are displayed.
|
