Specifying a Dedicated Port
Specify the dedicated port settings to use when communicating with the computer.
1
Start the Remote UI, and then log in as Management Mode.
2
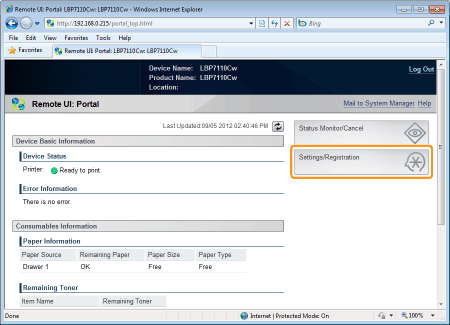
Click [Settings/Registration].
3
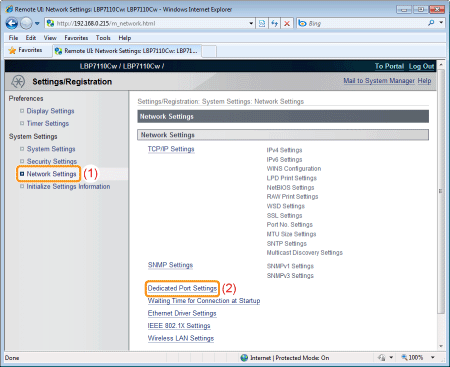
Display the [Dedicated Port Settings] page.
|
(1)
|
Select [Network Settings].
|
|
(2)
|
Click [Dedicated Port Settings].
|
4
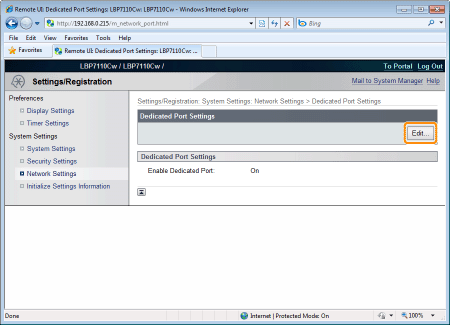
Click [Edit].
5
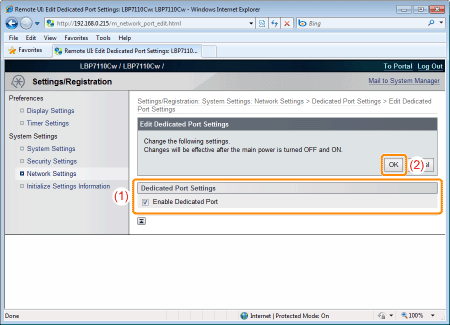
Specify the dedicated port settings.
|
(1)
|
Specify the dedicated port settings.
|
|
(2)
|
Click [OK].
|
|
[Enable Dedicated Port]
|
To enable a dedicated port, select the check box.
|

6
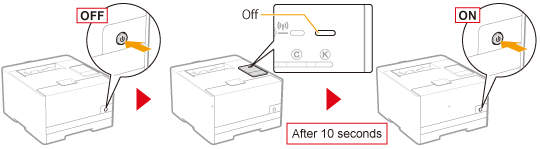
Restart the printer.
Turn the printer OFF, make sure that the Main Power indicator is off, wait for 10 seconds or longer, and then turn it ON again.
|
→
|
After the printer is restarted, the settings become effective.
|