Checking / Changing the Status of Documents Received in Memory
This section describes how to check the detailed information of documents received in memory. You can also delete and forward those documents.
I-Fax
Follow this procedure to check, delete, and forward the I-fax documents in memory.
1
Press [System Monitor] → [RX/TX].
For help, see steps 1 and 2 in E-Mail/I-Fax/File Server.
2
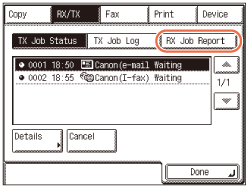
Press [RX Job Report].
3
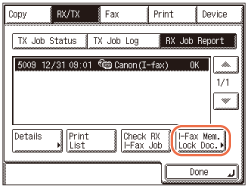
Press [I-Fax Mem. Lock Doc.].
4
Select the job whose detailed information you want to check → press [Details].
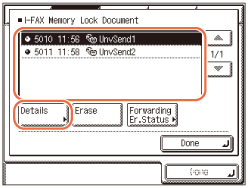
If the job that you want to select is not displayed, press [ ] or [
 ] to scroll to the job.
 ] or [
 ] to scroll to the job.
5
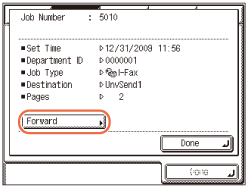
Check the details of the selected job.
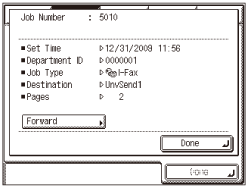
If you want to forward the selected job:
|
1
|
Press [Forward].
 IMPORTANT:
If you are logged out of Authentication at Send, [Forward] is not available.
|
|
2
|
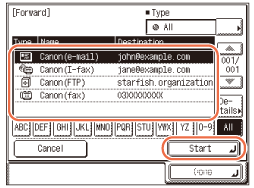
Select the forwarding destination from the Address Book → press [Start].
 NOTE:
For instructions on how to use the Address Book, see Using the Address Book.
The destinations you can specify may vary depending on the settings under <Send Restriction Settings>. (Customizing Settings) For example, if E-mail Send is set to ‘Do not allow’ or ‘Only allow sending to own address’, e-mail addresses and I-fax addresses are not displayed in the Address Book list.
|
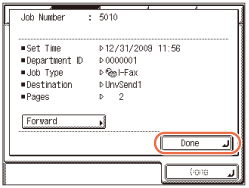
If you want to delete the selected job:
|
1
|
Press [Done].
 |
|
2
|
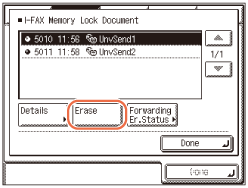
Press [Erase].
 |
|
3
|
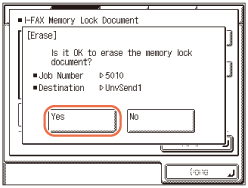
Press [Yes].
 |
6
Press  (Reset) to return to the top screen.
 (Reset) to return to the top screen.
Fax
Follow this procedure to check, delete, and forward the fax documents in memory.
1
Press [System Monitor] → [Fax] → [RX Job Status].
For help, see steps 1 and 2 in Checking/Deleting Fax Documents Being Received or Waiting To Be Printed.
2
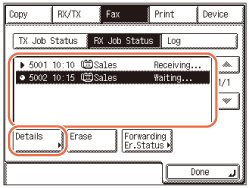
Select the job whose detailed information you want to check → press [Details].
If the job that you want to select is not displayed, press [ ] or [
 ] to scroll to the job.
 ] or [
 ] to scroll to the job.
3
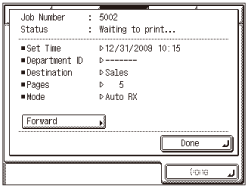
Check the details of the selected job.
If you want to forward the selected job:
|
1
|
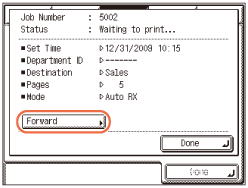
Press [Forward].
 IMPORTANT:
If you are logged out of Authentication at Send, [Forward] is not available.
|
|
2
|
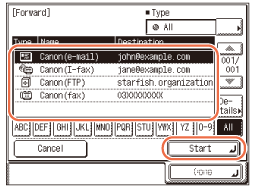
Select the forwarding destination from the Address Book → press [Start].
 NOTE:
For instructions on how to use the Address Book, see Using the Address Book.
The destinations you can specify may vary depending on the settings under <Send Restriction Settings>. (Customizing Settings) For example, if E-mail Send is set to ‘Do not allow’ or ‘Only allow sending to own address’, e-mail addresses and I-fax addresses are not displayed in the Address Book list.
|
If you want to delete the selected job:
|
1
|
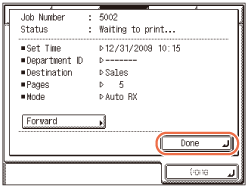
Press [Done].
 |
|
2
|
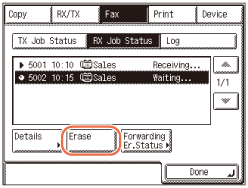
Press [Erase].
 |
|
3
|
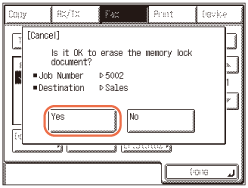
Press [Yes].
 |
4
Press  (Reset) to return to the top screen.
 (Reset) to return to the top screen.