Printing Files Created with Different Applications as a Single File
You can merge files which are created with different applications if the files are stored in the same mail box.
This function is useful in the following situations.
To print files created with different applications or by several people as a stapled single file.
Weekly and monthly reports in office
Collection of pupils' compositions
Fan publications
Presentation documents
To print scanned clips or transparencies and data created with a computer together as a 2-sided printing.
This section describes the procedure for storing files which are created with different applications in the mail box, and making a booklet with page numbers.
The screens may differ, depending on the model of the machine and on attached optional products.
|
Required Condition
|
|
The Booklet Finisher is attached to the machine.
|
Follow the procedures below.
Storing Data in the Mail Box from a Computer
Specifying Booklet Settings and Printing Data
Storing Data in the Mail Box from a Computer
1.
Create necessary data with proper applications.
2.
Store the created data in the mail box using the printer driver.
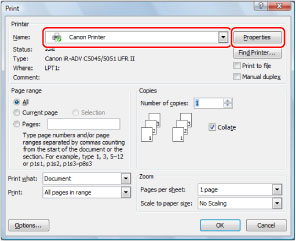
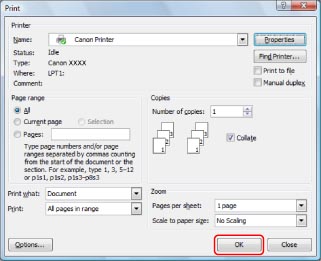
Click [File] → [Print].
Click [Properties].
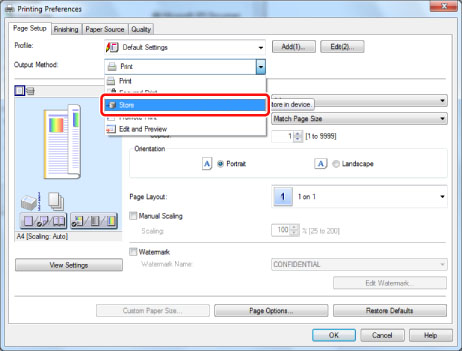
Select [Store] from [Output Method].
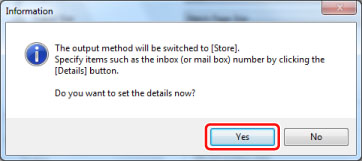
Click [Yes].
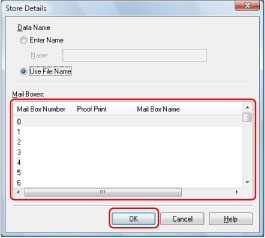
Select the Mail Box number you want to store in → click [OK].
Click [OK].

Click [OK].
The data is stored in the mail box.
|
NOTE
|
|
Repeat Step 2 to store all necessary data in the same mail box.
|
Specifying Booklet Settings and Printing Data
1.
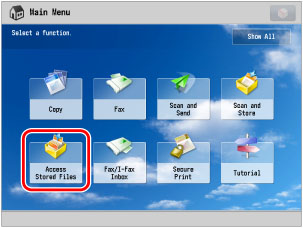
Press [Access Stored Files] on the Main Menu screen.
2.
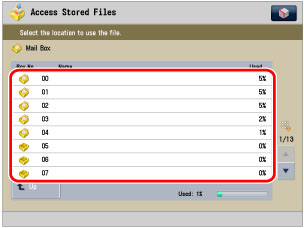
Press [Mail Box].

3.
Select the desired Mail Box.
4.
Select all files stored in the previous step.

5.
Press [Print].

6.
Press [Change Print Settings].
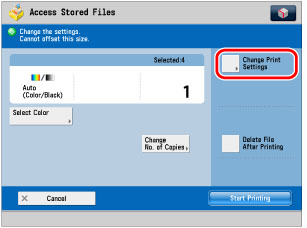
7.
Press [Merge Files and Print].

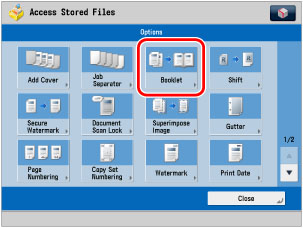
8.
Press [Options].

9.
Press [Booklet].
10.
Specify the booklet print settings → press [OK].
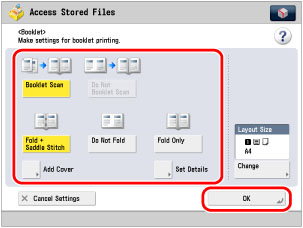
Select whether to arrange the page layout of scanned data to make a saddle stitched booklet.
Select [Booklet Scan].
Select whether to Fold and Saddle Stitch.
Select [Fold + Saddle Stitch].
Press[Opening Type] → select the opening direction.
Select [Right Opening].
Press [OK].
11.
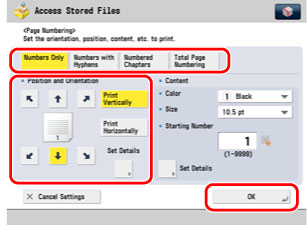
Press [Page Numbering].
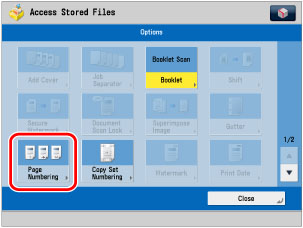
12.
Select the type of numbering, and the orientation and position of the page numbers → press [OK].
13.
Press [Close].
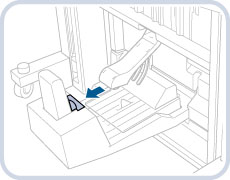
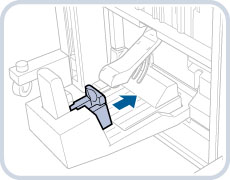
14.
Make sure to adjust the Booklet Tray guide to match the paper size.
 |
 |
|
A3/B4
|
A4R
|
|
NOTE
|
|
The shape of the Booklet Tray guide and the adjusting method may differ, depending on the model of the machine.
|
15.
Enter the desired copy quantity using  -
-  (numeric keys).
- (numeric keys).16.
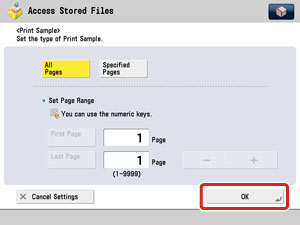
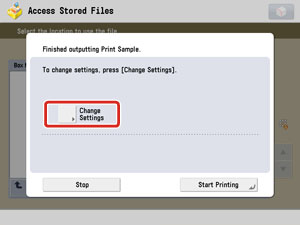
Press [Print Sample].

17.
Press [OK].
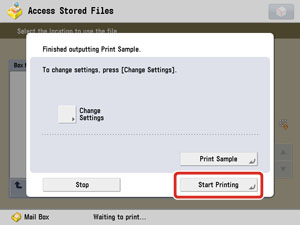
18.
Press [Start Printing].
A booklet which contains all selected files is output.
If the booklet is properly printed, press [Start Printing] to output necessary number of copies.
If the booklet has problems, proceed to the next step.
19.
Press [Change Settings].
20.
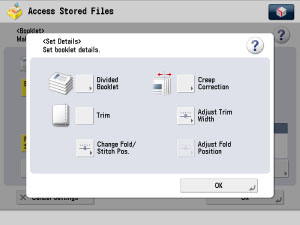
Press [Options] → [Booklet] → [Set Details].
21.
Specify booklet details.
|
IMPORTANT
|
|
[Trim], [Adjust Trim Width], and [Adjust Fold Position] cannot be used, depending on the model of the machine and on attached optional products. For information on the optional products, see "Optional Products/Software."
|
If the printing position of the images is out of place, and you want to set the creep (displacement) correction, press [Creep Correction] → select [Auto] or [Manual] → press [OK].

If you select [Manual], press [ ] or [
 ] to adjust the correction width.
] or [] to adjust the correction width.
*1 Trimmed
*2 After the pages are trimmed, the outer margins of all pages are equal.
*3 The inner margins are set so that the inner margins of the outermost pages are wider than the inner margins of the centre pages. The placement of the images on each page is adjusted by calculating the amount of displacement between the outermost page and innermost page of the booklet.
If you want the edge of the booklet trimmed, press [Trim].
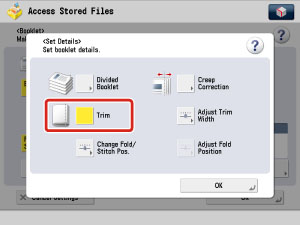
Press [Adjust Trim Width] to adjust the trim width if necessary → [OK].

|
NOTE
|
|
You can use functions related to trimming only if the trimmer is attached to the machine.
|
If the staple position is not centred, press [Change Fold/Stitch Pos.].
Select the paper to adjust.
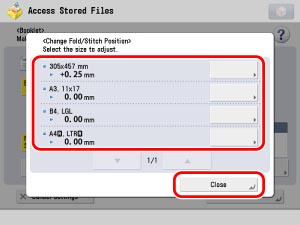
Adjust the position → press [OK].

22.
Press [Close] → [OK] → [OK] → [Close] → [OK].
23.
Press [Start Printing].
Specified number of booklets with modified settings is output.