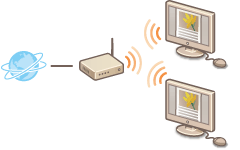
Connecting via Wireless LAN
Connect the printer to a computer via a wireless LAN router. The printer and the router are connected wirelessly (via radio waves), so you do not need a LAN cable. To make wireless LAN settings, use the MF/LBP Network Setup Tool from your computer.
Things to Check before Starting
 |
Have the computer and the router been connected properly? For more information, see the instruction manuals for the devices you are using, or contact the manufacturer.
Have the network settings been completed on the computer? If the network has not been set up properly, you will not be able to use the printer on the wireless LAN network, even if you perform the rest of the procedure below.
|
|
|
Risk of Information LeakIf the printer is connected to an unsecured network, your personal information might be leaked to a third party because radio waves used in wireless communication can go anywhere nearby, even beyond walls. Use wireless LAN connection at your own discretion and at your own risk.
Wireless LAN Security StandardsRefer to the "e-Manual" supplied with your printer for information about the security standards supported by the printer.
|
 |
|
The printer does not come with a wireless LAN router. Have one ready as necessary.
The wireless router must conform to the IEEE 802.11b/g/n standards and be able to communicate in the 2.4 GHz band. For more information, see the instruction manual provided with the router, or contact the manufacturer.
If you are using the printer in your office, consult your network administrator.
|
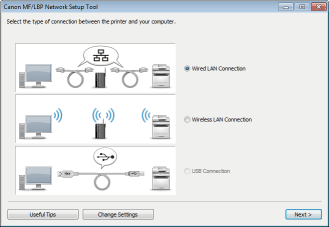
Configuring Wireless LAN Network Settings
1
Log on to the computer with an administrator account.
2
Start the MF/LBP Network Setup Tool.
There are two ways to start the MF/LBP Network Setup Tool: "Start it from the CD-ROM/DVD-ROM," and "Start it from a downloaded file."
Starting from the CD-ROM/DVD-ROM
Starting from a Downloaded File
Starting from the CD-ROM/DVD-ROM
Starting from a Downloaded File
3
Follow the on-screen instructions to configure the wireless LAN settings.

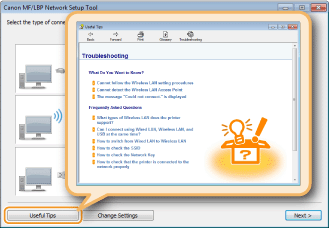
If there is something you do not understand
Click [Useful Tips] at the bottom left of the screen to display troubleshooting tips.