Installing e-Manual
Install the e-Manual on your computer by using the CD-ROM/DVD-ROM that comes with the machine. The label of the CD-ROM/DVD-ROM that contains manuals may vary depending on the country/region or the model of the machine.
1
Insert the User Software and Manuals CD-ROM/DVD-ROM into the drive on the computer.
Select a language and click [OK] if you are prompted to do so.
2
Click [Custom Installation].
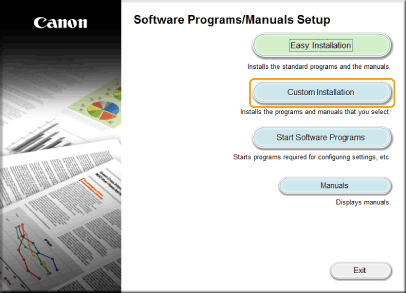

If the above screen is not displayed, see Displaying the [Software Programs/Manuals Setup] Screen.
3
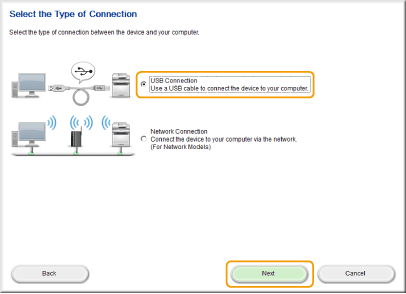
Select [USB Connection], and click [Next].
4
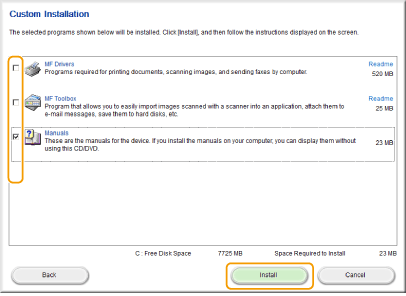
Clear all the check boxes except for [Manuals], and click [Install].
5
Read the License Agreement and click [Yes] to agree.
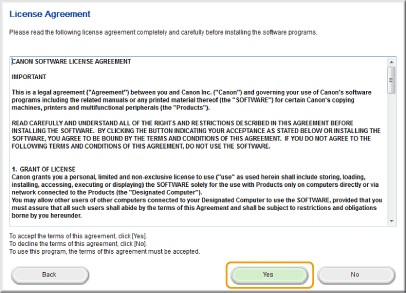
The installation begins.
Wait a moment. This process may take some time.

6
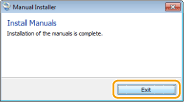
Click [Exit].
7
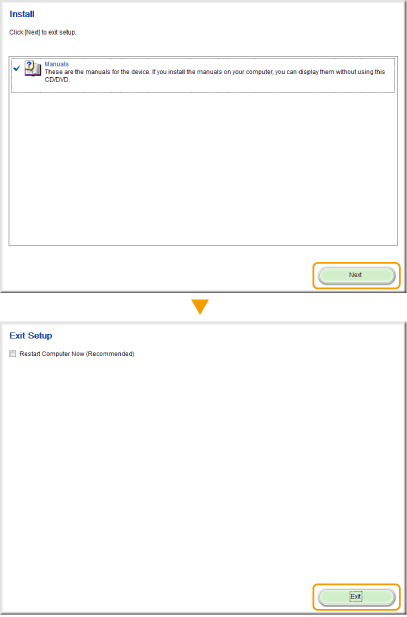
Click [Next]  [Exit].
 [Exit].
Viewing the e-Manual
Double-click the shortcut icon of the e-Manual on the desktop.

 |
If a security warning message appearsClick [Allow blocked content].
 |
|
TIPS for Viewing the e-Manual Directly from the CD-ROM/DVD-ROM
|
||||||
|
Depending on the operating system you are using, a security warning message may appear. If the message appears, allow the content to be displayed in your Web browser.
 Depending on the operating system you are using, a security warning message may appear. If the message appears, allow the content to be displayed in your Web browser. |