Printing Using the Encrypted Secure Print Function
This explains the basic procedure for printing using the Encrypted Secure Print function.
Prerequisites
Also configure settings for enhanced security as required.
The same driver version is used in all client computers
In environments shared with a device that has Encrypted Secure Print enabled, make sure that the same driver version is installed in all client computers.
Procedures
1.
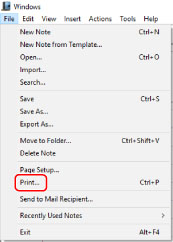
Select the print menu of the application.

2.
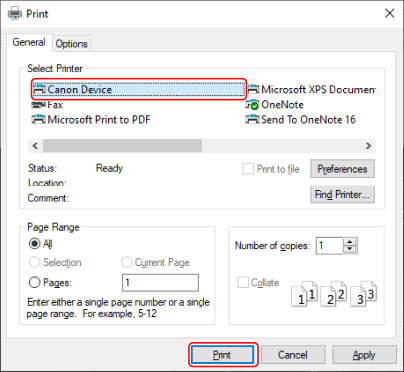
On the print screen, select the device you are using → click [Print] or [OK].

3.
If the [Edit Job Information] dialog box is displayed, enter the name of the document to print and the name of the user executing printing → click [OK].
The number and type of characters that can be used differs according to the device. Enter the name within the range displayed next to [Document Name].
4.
If the [Settings of Encrypted Secure Print Password] dialog box is displayed, enter the password → click [OK].
Enter the characters that can be used for the password within the maximum range.
When password requirements are set, enter a password that meets the requirements.
If you do not enter the password, the print data will not be encrypted.
 NOTE
NOTEIf you are printing a number of sheets in Microsoft Excel, multiple [Edit Job Information] dialog boxes or [Settings of Encrypted Secure Print Password] dialog boxes may be simultaneously displayed.
The maximum number of characters for the document name used when printing may not be able to be entered, depending on the characters that are used.