
Replacing the Drum Unit
148Y-040
When the drum unit is nearing the end of its lifetime, a message prompting you to replace the drum unit is displayed at the bottom of the screen. Press the icon at the right bottom of the screen, and follow the on-screen instructions to replace the drum unit.
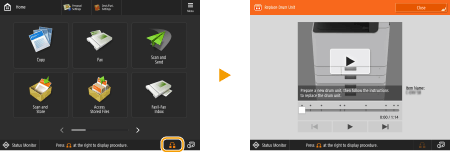
 |
Store drum units in a location away from light sources such as direct sunlight. Storing the drum unit in a room that is cold but rapidly heated, or has other rapid temperature changes, causes water droplets (condensation) to form inside it. Do not remove the gray protective cover until you are instructed to do so in the following procedure. |
 |
For the model number of the drum unit, see Replacement Parts. The drum unit replacement message displayed at the bottom of the screen differs depending on your contract. Press <Close> when you are finished with drum unit replacement. 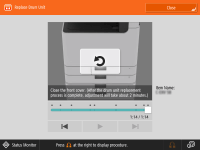 |
Procedure for Replacing the Drum Unit
1
Open the front cover of the main unit.
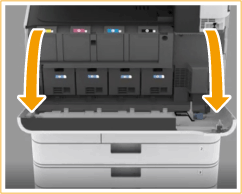
2
Open the cover of the drum unit.
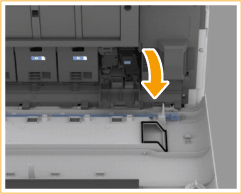
3
Pull out the drum unit.
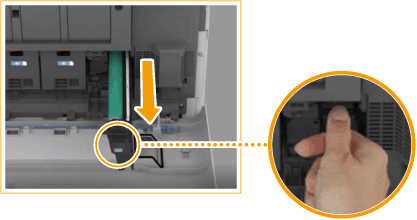

Pull out the drum unit while supporting it with your hands.
Do not tilt the drum unit. Doing so may cause the toner in the drum to spill.
4
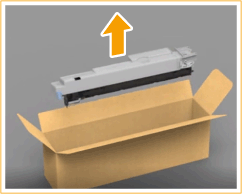
Remove the new drum unit from its box.
5
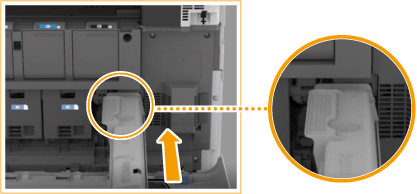
Install the new drum unit.
6
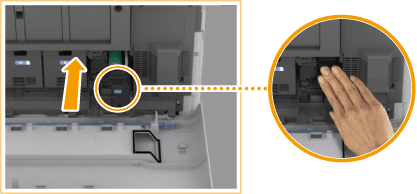
Remove the protective cover.
First push in the slider on the right side of the gray protective cover toward the back of the main unit until it cannot go any further, and then pull out the protective cover.
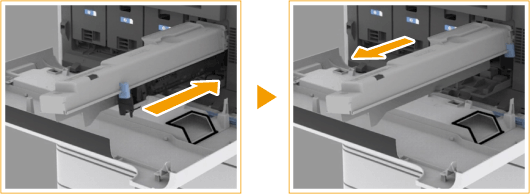

After removing the protective cover, check that the drum unit is pushed fully into the main unit. Failing to push the drum unit in fully will cause a malfunction.
7
Close the cover of the drum unit.
8
Close the front cover of the main unit.
9
Perform the full adjustment by pressing <Full Adjust> in <Auto Adjust Gradation>.
For information on the full adjustment, see Full Adjustment.
 |
After the replacement is complete, put the used drum unit in the bag that contained the new drum unit, and store it until the local authorized Canon dealer comes to collect it. |