Using Color Network ScanGear 2
You can scan an original by starting Color Network ScanGear 2 from an application such as Adobe Photoshop and Microsoft Office Word. Scanned documents can be edited or saved using the application's functions. You need to complete some procedures before using Color Network ScanGear 2. Preparing to Use Color Network ScanGear 2
|
For information about system environments in which Color Network ScanGear 2 can be used, see Help for Color Network ScanGear 2. Depending on the version of the Windows operating system you are using, the Color Network ScanGear 2 screens in this section may differ from your screens. Starting Color Network ScanGear 2 requires TWAIN-compliant applications. Check Help for each application to determine whether it supports TWAIN or not. |
Help for Color Network ScanGear 2
Clicking [Help]  [Color Network ScanGear 2 Help] on the Color Network ScanGear 2 screen displays the Help screen. For information that is not in the User's Guide, including driver features and how to set up those features, see Help.
Preparing to Use Color Network ScanGear 2
After installing Color Network ScanGear 2 on a computer (Installing Drivers), follow the following procedures to connect Color Network ScanGear 2 to the machine.
1
[ ] [Color Network ScanGear 2] [Color Network ScanGear 2 Tool].
] 2
Search the machine.
 Specifying the IP address or host name of the machine
1 | Click [Specify Address] and enter the IP address or host name of the machine in the [IP Address or Host Name] text box. |
Searching for the machine automatically
1 | Click [Search for Scanners on the Network]. |
2 | Select [IP Address] or [IP Address or Host Name] from the [Address Displayed in Search Result] drop-down list and click [Search]. |
3 | Click to select the machine from the [Search Results] list box. |
3
Click [OK].
The [Select Scanner] dialog box closes.
4
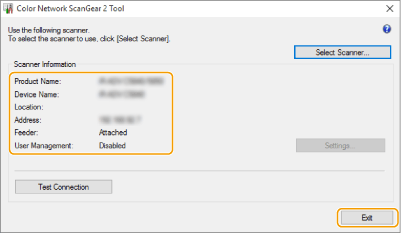
Check that this machine is selected and click [Exit].
To check if it can be connected properly, click [Test Connection].