Adjusting Density
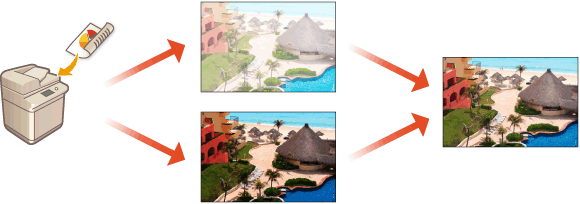
If the density of the printing is significantly different from the original document, follow the procedure below to adjust the scan density to be closer to the original.

1
Press  (Settings/Registration)
  <Adjustment/Maintenance>
  <Adjust Image Quality>
  <Correct Density>.
 (Settings/Registration)
  <Adjustment/Maintenance>
  <Adjust Image Quality>
  <Correct Density>.
2
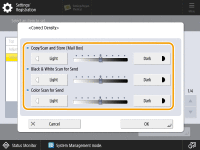
Adjust the density.
 (Items shown on the screen may differ depending on your model and options.) |
When set to the <Dark> side, areas printed with the maximum density are increased. When set to the <Light> side, filled areas, text, and lines may be printed like halftones with dots missing. This setting should mainly be used to adjust the intermediate densities.
3
Press <OK>.