
Utilizing Personalization
Have you ever experienced the following?
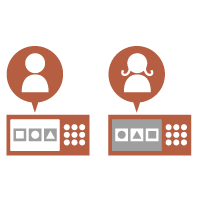
Accidentally copying with the settings of the previous user
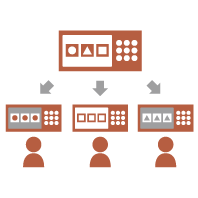
Frequently configuring the same combination of settings
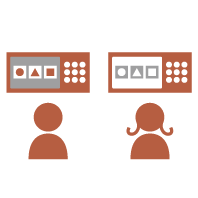
The machine has a personalization function that enables settings to be registered for each login user by using personal authentication management. For example, two-sided copying can be set as the default copy mode and the initial screen after logging in can be set to the Scan and Store Basic Features screen.
The customized settings can also be synchronized with other Canon machines on the same network and used on any machine.
The personalization function helps to improve operability and security, and reduce costs.
The customized settings can also be synchronized with other Canon machines on the same network and used on any machine.
The personalization function helps to improve operability and security, and reduce costs.
 |
The user must be in a position to use the personal authentication function in order to use personalization. For information on personal authentication, contact your device administrator. Managing Users The settings that were personalized for each user can be synchronized with other Canon machines on the same network and used on all synchronized machines. Synchronizing Settings for Multiple Canon Multifunction Printers For details on the settings that can be personalized, see List of Items That Can Be Personalized. |
Screen Personalization
 |  |  | ||
 | ||||
Setting Personalization
 |  |  | ||
 |  |  | ||
Function Personalization
 |  | |||
Screen Personalization
Changing the Display Language for Each User (Switch Language/Keyboard)
 | The language of the screen can be changed to the liking of each login user. For example, the machine can display the screen in English for a certain user, and then switch the display language to French when another user logs in. The keyboard layout of the touch panel display can also be changed. |
Displaying a Frequently Used Screen as the Initial Screen (Default Screen after Startup/Restoration / Default Screen (Status Monitor))
 | The screen displayed after logging in and after the machine returns from sleep mode can be set. For example, the operation screen (Basic Features screen) for copy and scan, the destination selection screen for <Scan and Store>, and the <Status Monitor> screen for checking the job status can be set as the initial screen. A frequently used job status/log screen can be registered as the default screen displayed when <Status Monitor> is pressed. |
Preventing Repeated Entry of the Same Character (Key Repetition Settings)
 | This setting enables you to adjust the time until entry of the same character is repeated. For example, if you press and hold the <a> key for a certain period of time, the letter "a" begins to be entered repeatedly. This can be prevented for people who want to work slowly, by adjusting the response speed of the touch panel display. |
Improving the Screen Visibility (Reversed Display (Color) / Enable Screen Magnification)
 | The screen can be enlarged or displayed with reversed colors. For example, the screen colors can be reversed to make it easier to read for users that have trouble with the default colors. Some screens can also be enlarged or reduced by pinching out or pinching in with two fingers. |
Setting Personalization
Specifying Frequently Used Settings as the Default Settings (Change Default Settings)
 | Frequently used settings can be registered as the default settings. For example, if a user frequently uses the two-sided mode, it can be set by default to eliminate the need to specify it every time the user operates the machine. <Change Default Settings> (Copy) <Change Default Settings> (Scan and Send) <Change Default Settings> (Scan and Store) <Change Default Settings> (Access Stored Files) |
Creating Shortcuts to Setting Items at a Deep Level (Register Options Shortcuts)
 | Shortcuts for frequently used settings can be registered to the Copy Basic Features screen, and the Scan and Send Basic Features screen. For example, if a user frequently uses the <N on 1> mode in <Options> of the Copy function, a shortcut to the <N on 1> mode can be displayed on the Copy Basic Features screen, so that you can recall the <N on 1> mode with one press of a button instead of going all the way down to the <Options> screen. |
Recalling Past Settings for Copying (Previous Settings)
 | The previously used <Copy> settings, and the previously used <Scan and Send> settings and destinations are retained in the machine. When copying with the same settings used in the past, the user can recall the previously used settings to eliminate the need to specify the same settings. |
Making the Job List Easy to See (Sorting the Job List)
 | The job list can be sorted using the order of names, dates, etc., to make it easier to find the desired job or document. The sorting order is retained for the next time the user logs in. |
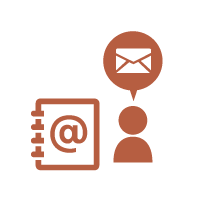
Managing Destinations in Personal Address Lists/User Group Address Lists (Personal Address List / User Group Address List)
 | Destinations can be separated and managed using personal address lists and user group address lists. For example, you can manage destinations used for your own personal customers in your personal address list and destinations shared within a group in a user group address list. |
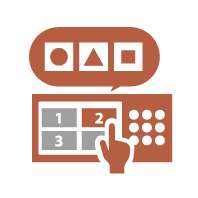
Enabling Multiple Settings to Be Set with a Single Button (<Personal>/<Shared>)
 | <Personal> buttons and <Shared> buttons can be used to eliminate the need to set the same combination of settings separately. For example, a user can set the <2-Sided> and <N on 1> modes together. By registering these settings in a <Personal> button, this combination of settings can be recalled with a single button press. By registering the settings in a <Shared> button, they can be conveniently used by other users. |
Function Personalization
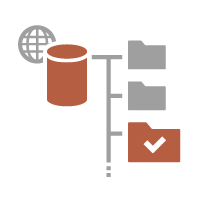
Directly Storing Scanned Data on a Server (Personal Folder)
 | The data scanned with the machine can be stored on a server on the same network. For example, a user can create a personal folder on an SMB server in the office and directly save data scanned with the machine. This prevents data from becoming mixed up with the data of other users. |
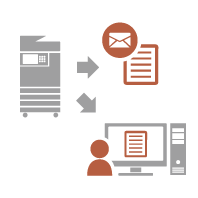
Sending the Scanned Document to Your Own E-Mail Address (Send to Myself)
 | Users can easily send scanned documents to their own e-mail address. For example, when sending a document to the e-mail address of a customer as a PDF file, a user can press <Send to Myself> displayed on the Scan and Send Basic Features screen, etc. to also send the PDF file to their own e-mail address. |