
Paper Jams in the Sensing Unit-B
Check the paper jam location on the screen, and follow the procedure below to remove the paper. The "Sensing Unit-B" is optional products. Optional Equipment
For jobs where paper is fed to the next unit
Paper jam locations are indicated by numbers such as A1 or A2, which are shown in the illustration below.
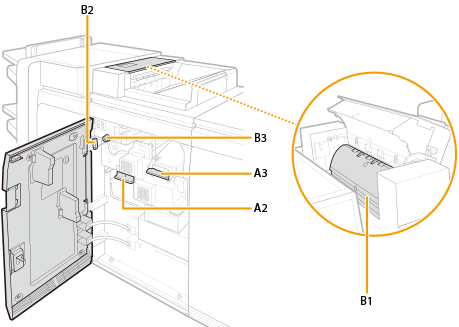
1
Open the front cover of the "Sensing Unit-B."
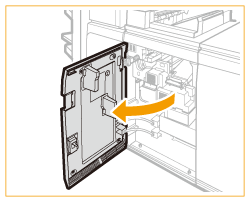
2
Lower the handle of the A1 guide and open the guide.
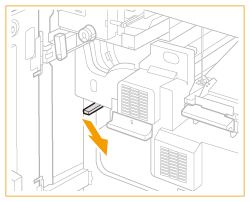
3
Lower the handle of the A2 guide and open the guide.
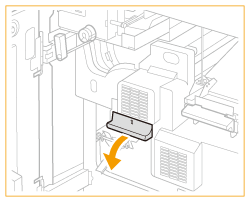
4
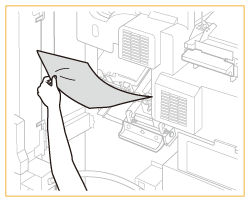
Remove any paper left inside the A1 and A2 guides.
5
Raise the handle of the A2 guide and close the guide.
6
Raise the handle of the A1 guide and close the guide.
7
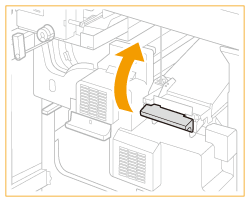
Raise the handle of the A3 guide and open the guide.
8
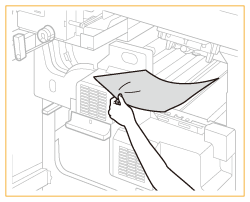
Remove any jammed paper.
9
Lower the handle of the A3 guide and close the guide.
10
Close the front cover of the "Sensing Unit-B."
For jobs where paper is output to the output tray
Paper jam locations are indicated by numbers such as A1 or A2, which are shown in the illustration below.

 |
For instructions related to formats smaller than B5, refer to For jobs where paper is fed to the next unit |
1
Open the front cover of the "Sensing Unit-B."

2
Lower the handle of the A2 guide and open the guide.
3
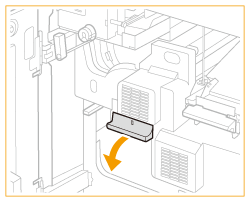
Remove any jammed paper.
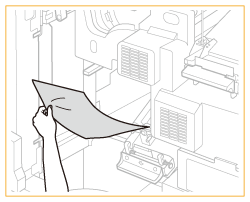
4
Raise the handle of the A2 guide and close the guide.
5
Raise the handle of the A3 guide and open the guide.

6
Remove any jammed paper.

7
Lower the handle of the A3 guide and close the guide.
8
Remove any paper left in the output area.
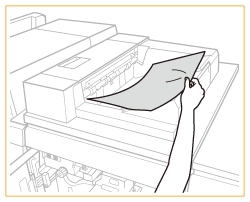
9
Pull the lever of the paper output feed guide to open the cover.
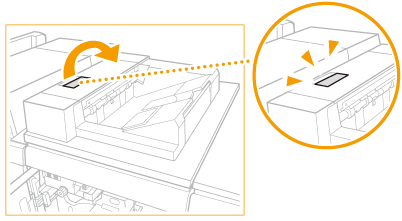
10
Remove any paper left inside B1.
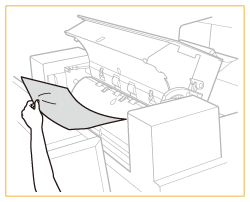
11
Close the cover of the paper output feed guide.
12
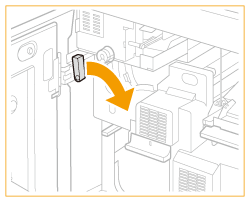
Push the lever of the B2 guide to the right and open the guide.
13
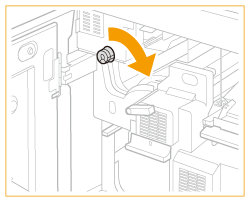
Turn the B3 knob to the right and move the paper into the guide.
14
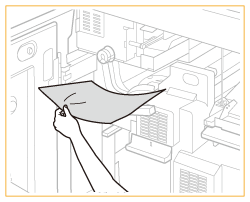
Remove the paper.
15
Push the lever of the B2 guide to the left and close the guide.
16
Close the front cover of the "Sensing Unit-B."