Correcting Density

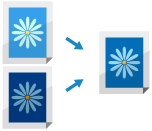
If the color density of the scanned data or print result differs significantly from the source data or original, perform correction so that the density when scanning is closer to that of the original. You can correct the density for each function.
Use the control panel to correct the density. You cannot perform correction using Remote UI from a computer.
1
On the control panel, press [ Settings/Registration] in the [Home] screen or other screen. [Home] Screen
 Settings/Registration] in the [Home] screen or other screen. [Home] Screen
The [Settings/Registration] screen is displayed.
2
Press [Adjustment/Maintenance]  [Adjust Image Quality]
  [Correct Density].
 [Adjust Image Quality]
  [Correct Density].
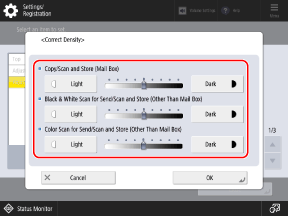
The [Correct Density] screen is displayed.
3
Move the slider to the left or right to adjust the density for each function.

The more you move the slider to the [Dark] side, the larger the area printed with maximum density.
Move to the [Light] side mainly to adjust the intermediate density. Note that filled areas, text, and lines may be printed similar to halftone with missing dots.
4
Press [OK].
The adjustments are applied.