Replacing the Toner Cartridges
A message appears on the control panel when the amount of remaining toner is low or the toner runs out. In this case, replace the toner cartridge while following the message.
If printing pauses due to the toner running out, printing resumes after the toner cartridge is replaced.
You can play the replacement procedure video for the toner cartridges at any time by pressing [ Settings/Registration] on the [Home] screen or other screen. [Replace Toner Cartridge]
Settings/Registration] on the [Home] screen or other screen. [Replace Toner Cartridge]Check the precautions in "Important Safety Instructions" included with the machine before replacing the toner cartridge.

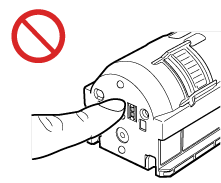
Do not touch the electrical contacts at the rear of the toner cartridge (the side without the toner color label).
1
Open the front cover of the main unit.
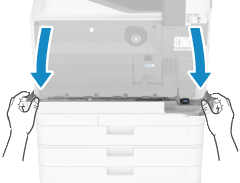
Open the cover while holding both sides.
2
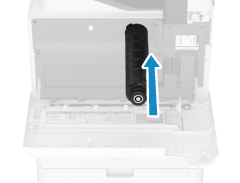
Pull out the toner cartridge.
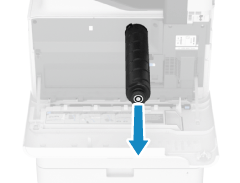
Be careful not to touch the lead edge of the toner cartridge or bump or otherwise impact the toner cartridge. Toner may leak.
Prepare a piece of paper or cloth that can get dirty, and temporarily place the removed toner cartridge on it.
3
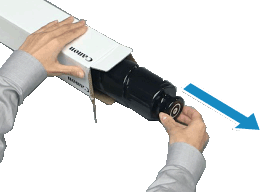
Remove the new toner cartridge from the box.
4
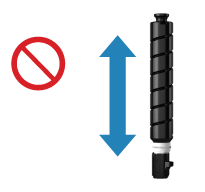
With the white part of the toner cartridge toward the top, shake the toner cartridge vertically about 10 times to evenly distribute the toner.
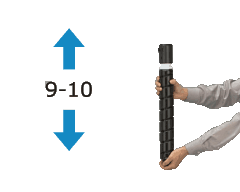
Do not hold the toner cartridge with the white part toward the bottom. The toner may not be supplied properly.
5
Install the new toner cartridge.
With the flat side of the toner cartridge facing down, push the toner cartridge all the way in.
An error message is displayed if the toner is not evenly distributed. In this case, pull out the toner cartridge, and shake it to distribute the toner.
Close the front cover of the machine.
NOTE
Calibrating the Gradation and Correcting the Density
You can calibrate the gradation and correct the density if they are different from those before replacing the toner cartridge.