Color Setting
Set a color when scanning.
Selecting a Color
Select a color when scanning.
* The color that can be selected is restricted based on the file format setting.
TIFF files are restricted to [Black & White].
JPEG and OOXML files are restricted to [Auto (Color/Gray)], [Full Color], and [Grayscale].
1
On the scan screen, press the setting button to select the color. Scan Screen
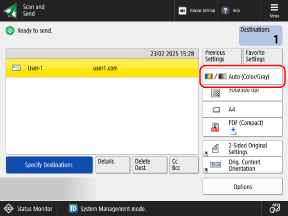
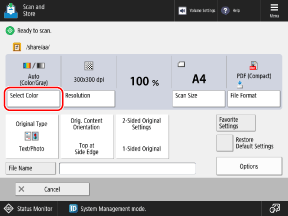
The [Select Color] screen is displayed.
2
Select a color when scanning.
You cannot select [Auto (Color/Gray)] or [Grayscale] when saving scanned data to Mail Box.
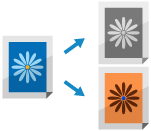
[Auto (Color/Gray)]
Detects the color of the original automatically. Color originals are scanned in color, and black and white originals are scanned in grayscale.
* When text is faded or the original has large volumes of text, select [Auto (Color/Black & White)].
* Color originals may be detected as black and white depending on the condition of the original and the size, such as when only the edges of the original are in color. In this case, select [Full Color].
[Auto (Color/Black & White)]
Detects the color of the original automatically. Color originals are scanned in color, and black and white originals are scanned in black and white.
* Color originals may be detected as black and white depending on the condition of the original and the size, such as when only the edges of the original are in color. In this case, select [Full Color].
[Full Color]
Scans in full color, regardless of the color of the original.
* When set to [Full Color], black and white originals also count as color scans.
[Black & White]
Scans in black and white, regardless of the color of the original.
[Grayscale]
Scans in grayscale from white to black, regardless of the color of the original.
Because this uses different levels of gray, such as white, light gray, gray, dark gray, and black, it looks more natural and smoother than the Black & White setting.
Because this uses different levels of gray, such as white, light gray, gray, dark gray, and black, it looks more natural and smoother than the Black & White setting.
* When text is faded or the original has large volumes of text, select [Black & White].
3
Press [OK].
The scan screen is displayed again.