Annotation Editor Screen Layout
The screen of Annotation Editor consists of three "bars" and three "panes."
Panes
Areas of the Annotation Editor screen used for displaying print previews and areas for selecting pages and specifying print settings are called "panes."
Navigation Pane
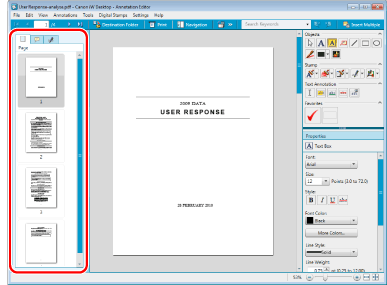
The navigation pane is the area for selecting pages using document thumbnails and displaying a list of added annotations and signed digital stamps.
Document thumbnails are displayed on the [Page] tab.
A list of added annotations is displayed on the [Annotation List] tab.
A list of added signed digital stamps is displayed on the [Signature List] tab.
Work Pane
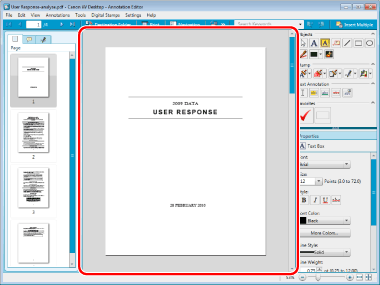
This area is used for displaying previews of document pages and adding annotations.
Object Palette Pane
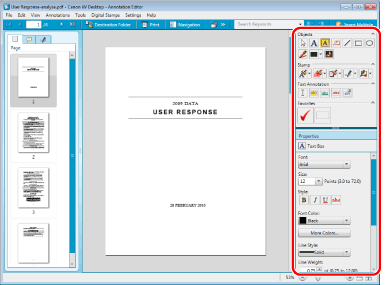
This area is for editing the type and detailed content of annotations.
The various  in the annotation list can be clicked to hide annotations by type. Click
  to display them again.
|
Note
|
|
The Navigation Pane can be shown and hidden with tool buttons.
You can move the boundary between the Navigation Pane and the Work Pane by dragging it.
You can resize the Annotation Editor screen by dragging the four corners of the Annotation Editor screen.
|
Bars
Areas of the Annotation Editor screen with items for editing documents, selecting annotations, and printing/sending faxes are called "bars."
Menu Bar
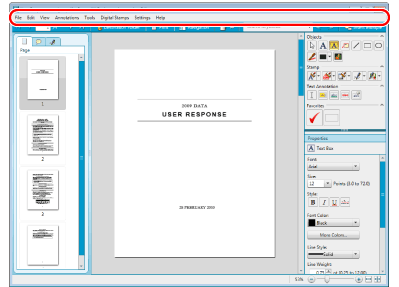
Enables you to perform basic operations such as edit, save, print, and fax transmission of documents, select the type of annotation, and specify settings for digital stamps.
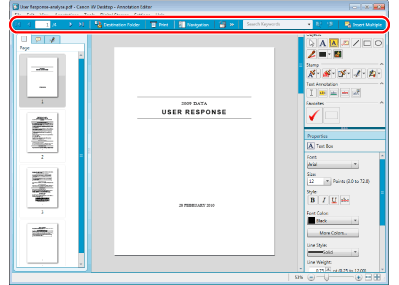
Toolbar
Provides you with buttons on the toolbar to edit, print, and fax documents, and configure display settings.
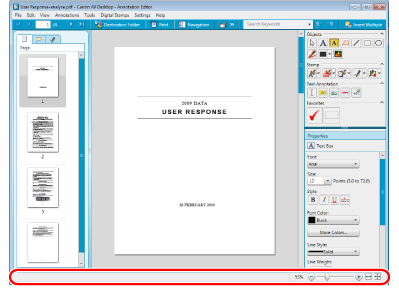
Status Bar
Enables you to change the magnification factor of the Work Pane.
|
Note
|
|
The Status Bar can be shown/hidden from the [View] menu of the Menu Bar.
|