Desktop Monitor Setup
To monitor the status of the printer or its printer/fax jobs using Printer Monitor, the printer/fax must be configured as a monitoring target in Desktop Monitor Setup.
To configure a printer to be monitored, first create a printer port. For more information, see the following and follow the setup wizard.
The printer registered in Desktop Monitor Setup can be monitored through Desktop Browser or Printer Monitor.
Monitoring with Desktop Browser
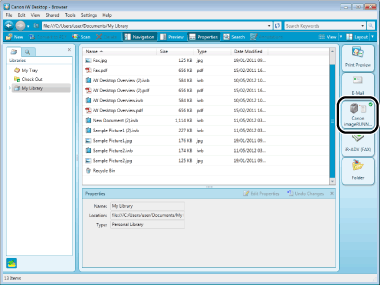
In the Output Bar of Desktop Browser, you can monitor the status of a printer registered in Desktop Monitor Setup. In the printer output icon of the Output Bar, a mark indicating the current status is displayed.
For more information, see the following.

Desktop Browser (Example of a printer output icon)
Monitoring with Printer Monitor
In Printer Monitor, you can monitor the status of a job sent to the monitored printer. You can confirm the status of the job in the icon or notification window, or view the job history.

Printer Monitor (Example of an icon)
|
Note
|
||||||||||
|
The default settings of Windows 7/Windows 8/Windows 8.1 restrict icons displayed in the task tray area. Follow the steps below to display Printer Monitor icons in the task tray area.
|