Starting and Exiting Object Layout Editor
This section describes how to start and exit Object Layout Editor.
Also see the following as necessary.
Starting
|
Important
|
|
When converting binder/PDF documents created with Desktop V2.0.1 or earlier, annotations containing unprintable characters are deleted.
When Starting Object Layout Editor from Document Binder
|
|
Note
|
|
A single Object Layout Editor screen enables you to edit only a single binder document.
|
1.
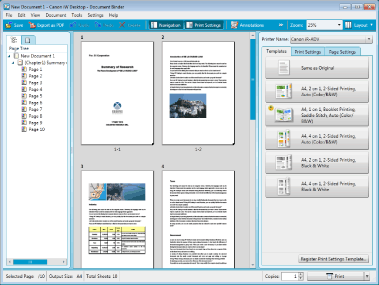
In Document Binder, open the document you wish to edit with Object Layout Editor.

2.
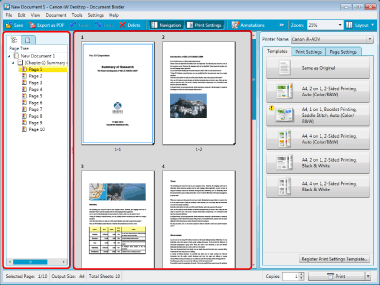
Select a page or chapter that you want to edit in the Navigation Pane or the Preview Pane.

|
Note
|
|
You can select multiple pages or chapters. You can also select the entire document.
If you have not selected any pages on the Document Binder screen, the entire page is targeted for edit.
|
3.
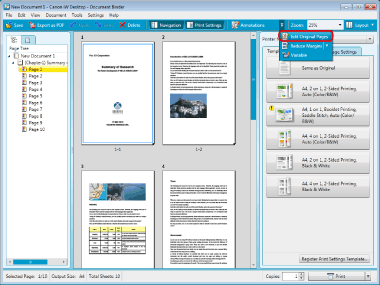
Click  (Start Object Layout Editor and Edit Original Pages) on the Toolbar. (started in the object edit mode)
 (Start Object Layout Editor and Edit Original Pages) on the Toolbar. (started in the object edit mode)
Or, follow one of the steps described below.
Select [Edit Original Pages] in the [Tools] menu (started in the object edit mode)
Click  (Reduce Block Margins on Original Pages) on the Toolbar (started in the block edit mode)
 (Reduce Block Margins on Original Pages) on the Toolbar (started in the block edit mode)
Select the [Tools] menu > [Reduce Block Margins on Original Pages] > [Adjust Blocks and Reduce Margins] (started in the block edit mode)
When a page or chapter is selected on the Document Binder screen, a message concerning the edited range of the original pages is displayed. If you want to edit the entire document, select [All Pages].
The Object Layout Editor screen is displayed.
Exiting
1.
Click  (Close) on the Object Layout Editor.
 (Close) on the Object Layout Editor.
Or, select the [File] menu > [Exit].
The Object Layout Editor screen closes and you will return to the Document Binder screen.
|
Note
|
|
Overwriting is the only method of saving changes. The changes are overwritten as temporary data. They are not incorporated into a document for editing until you return to Document Binder and save them.
|