Recalling the Quick Menu of Another Machine
If you register frequently used function settings such as Copy, Scan and Send, and Scan and Store in the Quick Menu, you can also use those settings on another machine.
Benefits from Using Quick Menu
Increase efficiency of standard tasks
Using this function increases the efficiency of standard tasks by removing the need for specifying the same settings every time.
|
Required Condition
|
|
Network settings are set.
You can access the Remote UI.
|
This section describes the procedure for registering the settings for copying a one-sided document to both sides of the paper and adding page numbers, and exporting those settings so you can import them into another machine.
The screens may differ, depending on the model of the machine and on attached optional products.
Follow the procedures below.
Registering the Settings for Copying a One-Sided Document to Both Sides of the Paper and Adding Page Numbers
Exporting the Settings
Importing the Settings
Registering the Settings for Copying a One-Sided Document to Both Sides of the Paper and Adding Page Numbers
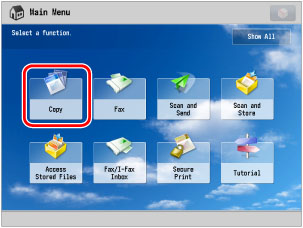
1.
Place your originals on the platen glass or in the feeder → press [Copy] on the Main Menu screen.
|
NOTE
|
|
If the Main Menu screen is not displayed, press
 (Main Menu). (Main Menu). |
2.
Press [Options] → [2-Sided].
3.
Select [1-Sided 2-Sided] → press [Set Details].
2-Sided] → press [Set Details].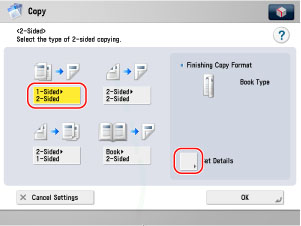
4.
Select [Book Type] → [OK].
5.
Press [Options] → [Page Numbering].
6.
Select [Numbers Only] → [Upright Image] → [ ] → press [OK] → [Close].
] → press [OK] → [Close].
7.
Press [ ] → [Register to Quick Menu].
] → [Register to Quick Menu].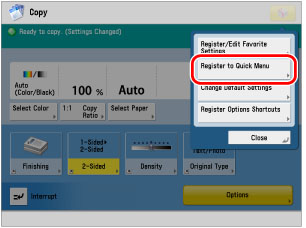
8.
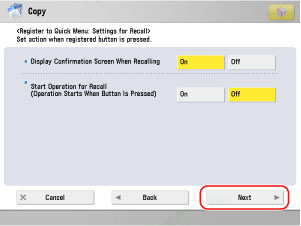
Verify the settings → press [Next].
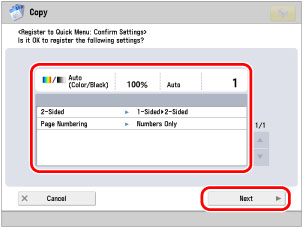
9.
Press [Next].
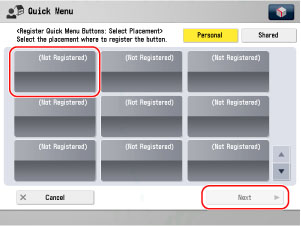
10.
Select the button you want to register → press [Next].
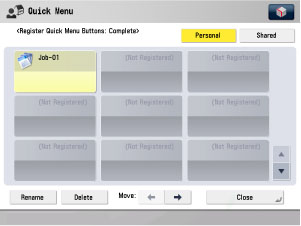
11.
Enter a button name and comment → press [OK].
The settings are registered.
Exporting the Settings
1.
Start a Web browser on your computer → enter the following URL in [Address]. (Case sensitive)
http://<IP address of the machine or host name>:8000/custommenu
For example, if the IP address of the machine is "192.168.11.55," enter "http://192.168.11.55:8000/custommenu" as the URL.
The Log In page is displayed.
|
NOTE
|
|
The page that is displayed differs, depending on the selected login service.
|
2.
Enter the user name and password to log in.
3.
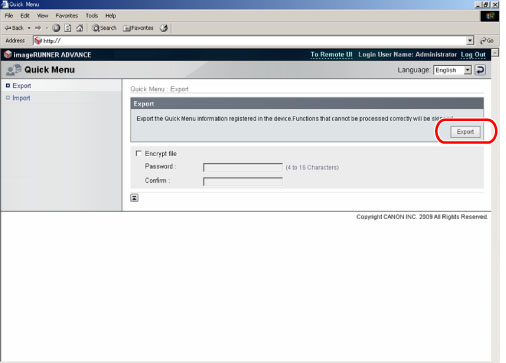
Click [Export] to display the Export page.
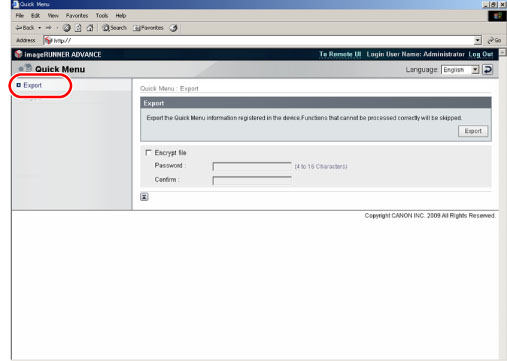
4.
Click [Export] to start exporting.
|
NOTE
|
|
The file extension of the exported file is '.xml'.
|
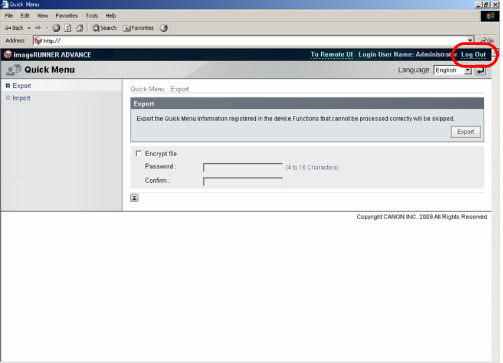
5.
When the file is saved, click [Log Out].
Importing the Settings
1.
Start a Web browser on your computer → enter the following URL in [Address]. (Case sensitive)
http://<IP address of the machine or host name>:8000/custommenu
For example, if the IP address of the machine is "192.168.11.55," enter "http://192.168.11.55:8000/custommenu" as the URL.
The Log In page is displayed.
|
NOTE
|
|
The page that is displayed differs, depending on the selected login service.
|
2.
Enter the user name and password to log in.
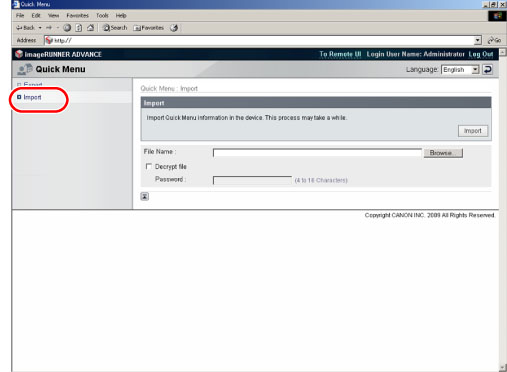
3.
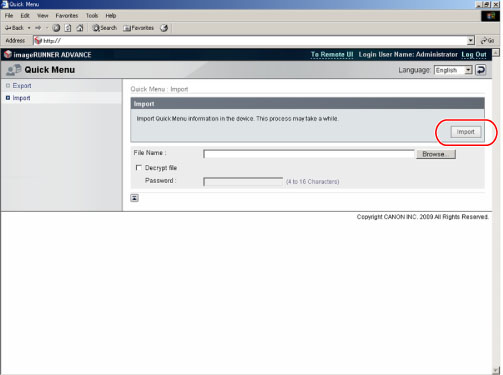
Click [Import] to display the Import page.
4.
Click [Browse] → specify the file to import.
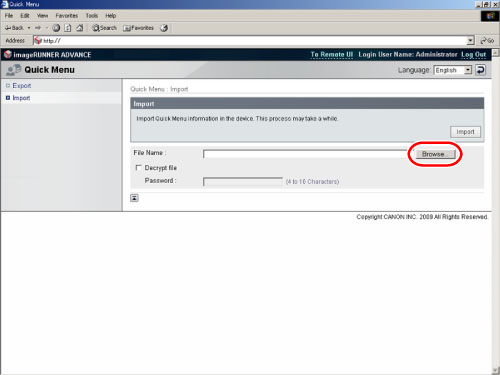
5.
Click [Import] to start importing.
6.
Press  (Quick Menu) on the machine you imported the settings to → press the button that contains the registered settings.
(Quick Menu) on the machine you imported the settings to → press the button that contains the registered settings. The settings used on the other machine are recalled.