Specifying from Address Book
 | The Address Book enables you to specify a destination by selecting from a list of registered destinations or by searching by name for destinations with recipient names. |
 |
You need to register destinations in the Address Book before using this feature. |
1
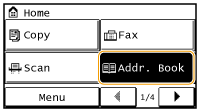
Press  and tap <Addr. Book>.
 and tap <Addr. Book>.
2
Use  /
/ to select a tab.
 /
/ to select a tab.
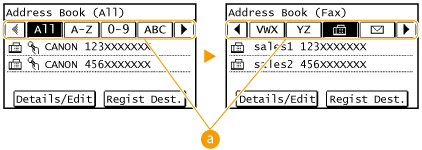
 <All>
<All>Displays all the destinations registered in the Address Book.
<A-Z>/<0-9>/<ABC> to <YZ>
Displays destinations with recipient names whose first characters correspond to the characters of the selected tab.
< >
>
 >
>Displays destinations for faxes.
< >
>
 >
>Displays destinations for sending e-mail. Do not use in this procedure.
< >
>
 >
>Displays destinations for shared folders. Do not use in this procedure.
< >
>
 >
>Displays a list of destinations registered in Group Dial.
< >
>
 >
>Only destinations for one-touch dialing are displayed.
3
Select a destination.

If you want to specify multiple destinations
Repeat the following steps. You can specify up to 104 destinations.
<Destination> <Specify from Address Book>
  Select a tab
  Select a destination.
<Destination>
 <Specify from Address Book>
  Select a tab
  Select a destination.
To specify any additional destinations with the numeric keys, tap <Destination>  <Specify Using Numeric Keys>.
 <Specify Using Numeric Keys>.
 4
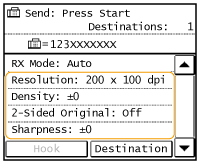
Specify the scanning settings as necessary.
Select the settings. Various Fax Settings
5
Press  to start sending.
 to start sending.
Scanning starts.
If you want to cancel sending, press 
 Tap <Yes>.

 Tap <Yes>.
 To delete destinations
If you specified multiple destinations, you can delete destinations as necessary.
1 | Select <Destination>  <Confirm/Edit>. <Confirm/Edit>.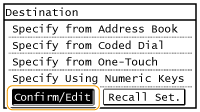 |
2 | Select a destination you want to delete. 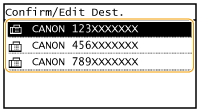 |
3 | Tap <Remove>  <Yes>. <Yes>.If you specified Group Dial in step 2, "XX destination(s)" is displayed. Tapping Number of Destinations displays destinations registered in the group. 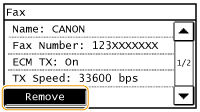 |
 |
If you want to easily and quickly delete destinations without displaying a list of destinationsBefore tapping <Destination> in step 1, you can tap  / / to toggle the destinations you specified. Display a destination you want to delete, and press to toggle the destinations you specified. Display a destination you want to delete, and press  . . |