Copying Mail Merge Fields
Mail Merge fields inserted with Desktop Editor can be copied or cut, and they can be pasted in another location.
Copying the Content of Text Fields
This section describes how to copy the content of text fields.
1.
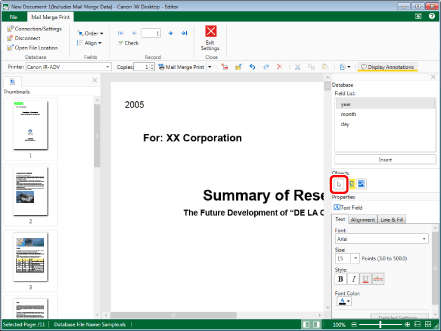
Click  (Select Fields) on the Details Window.
2.
Move the mouse pointer to the text field with content you want to copy on the Work Window, and click the field when the shape of the mouse pointer changes to  .
.
Or, drag the mouse pointer selection rectangle to include the text field to copy its content.
3.
Move the mouse pointer to the selected text field and click the mouse.
The shape of the mouse pointer changes to  .
.
4.
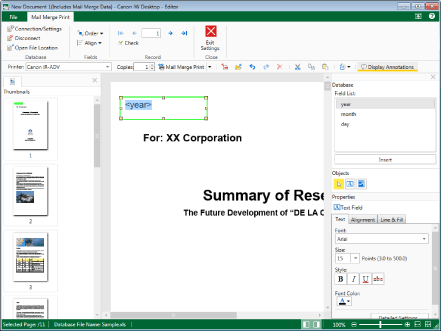
Select the range to copy by dragging the mouse pointer.
Or, press the arrow keys while holding the [Shift] key on the keyboard.
|
NOTE
|
|
Selecting a text field in which a field has been inserted causes the text field name to display the field name. Because of this, you cannot select the record value.
You cannot select and copy a part of the field name.
|
5.
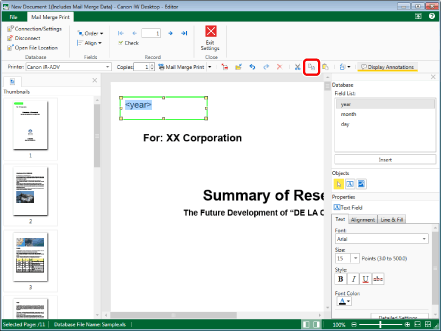
Click  (Copy) on the toolbar.
 (Copy) on the toolbar.
Or, right-click and select [Copy].
|
NOTE
|
|
If tool buttons are not displayed on the toolbar of Desktop Editor, see the following to display them.
|
6.
To paste the copied text, click  (Text Field) on the toolbar.
Or, select a text field that is already configured.
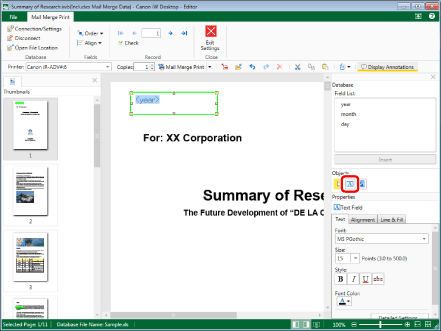
The properties of the text field are displayed on the Details Window.
If you selected a text field that is already configured, proceed to step 9.
7.
Move the mouse pointer to the Work Window.
The shape of the mouse pointer changes to  .
.
8.
Drag the mouse selection rectangle to specify the size of the text field on the Work Window.
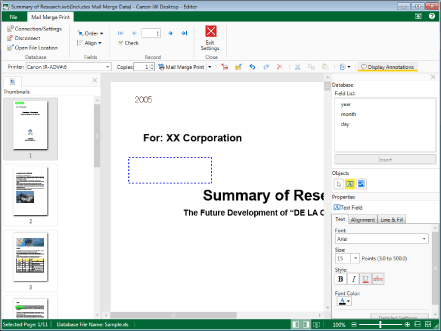
A text field is placed.
9.
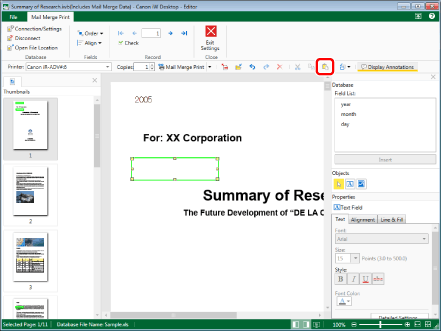
Click  (Paste) on the toolbar.
 (Paste) on the toolbar.
Or, right-click and select [Paste].
|
NOTE
|
|
If tool buttons are not displayed on the toolbar of Desktop Editor, see the following to display them.
|
10.
Configure the properties of the text field.
|
NOTE
|
|
For more information on text field properties, see the following.
|
Cutting the Content of Text Fields
This section describes how to cut the content of text fields.
1.
Click  (Select Fields) on the Details Window.

2.
Move the mouse pointer to the text field with content you want to cut on the Work Window, and click the field when the shape of the mouse pointer changes to  .
.
Or, drag the mouse pointer selection rectangle to include the text field to cut its content.
3.
Move the mouse pointer to the selected text field and click the mouse.
The shape of the mouse pointer changes to  .
.
4.
Select the range to copy by dragging the mouse pointer.
Or, press the arrow keys while holding the [Shift] key on the keyboard.

|
NOTE
|
|
Selecting a text field in which a record has been inserted causes the text field name to display the record name. Because of this, you cannot select the record value.
You cannot select and copy a part of the record name.
|
5.
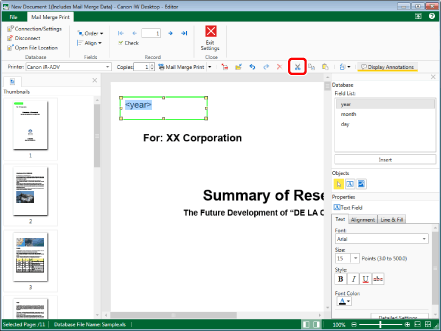
Click  (Cut) on the toolbar.
 (Cut) on the toolbar.
Or, right-click and select [Cut].
|
NOTE
|
|
If tool buttons are not displayed on the toolbar of Desktop Editor, see the following to display them.
|
6.
To paste the copied text, click  (Text Field) on the toolbar.
Or, select a text field that is already configured.
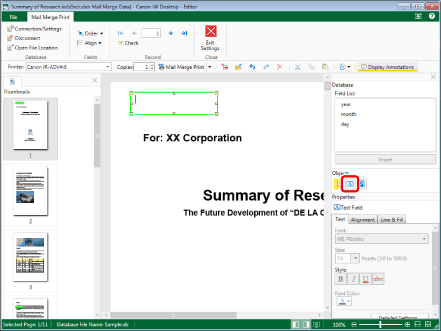
The properties of the text field are displayed on the Details Window.
If you selected a text field that is already configured, proceed to step 9.
7.
Move the mouse pointer to the Work Window.
The shape of the mouse pointer changes to  .
.
8.
Drag the mouse selection rectangle to specify the size of the text field on the Work Window.
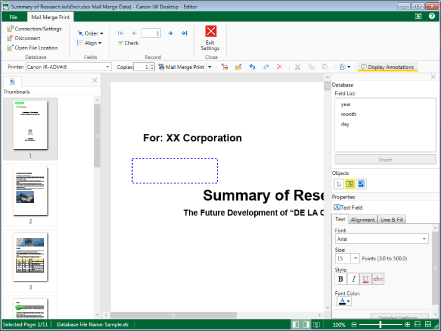
A text field is placed.
9.
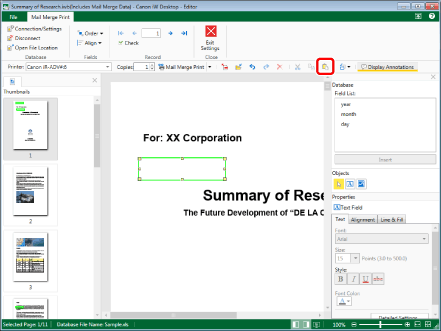
Click  (Paste) on the toolbar.
 (Paste) on the toolbar.
Or, right-click and select [Paste].
|
NOTE
|
|
If tool buttons are not displayed on the toolbar of Desktop Editor, see the following to display them.
|
10.
Configure the properties of the text field.
|
NOTE
|
|
For more information on text field properties, see the following.
|
Copying Mail Merge Fields
This section describes how to copy Mail Merge fields.
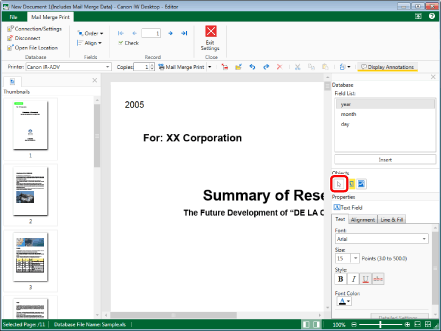
1.
Click  (Select Fields) on the Details Window.
2.
Move the mouse pointer to the Mail Merge field that you want to copy on the Work Window, and click the field when the shape of the mouse pointer changes to  .
.
Or, drag the mouse pointer selection rectangle to include the Mail Merge field to copy.
|
NOTE
|
|
Multiple Mail Merge fields can be selected by clicking them while holding down the [Ctrl] key on the keyboard.
If you want to select all Mail Merge fields on the page, perform one of the following operations in an area on the Work Window without a Mail Merge field, while keeping the Work Window active.
Click [Select All] on the toolbar.
Right-click and select [Select All].
If tool buttons are not displayed on the toolbar of Desktop Editor, see the following to display them.
You can only select multiple Mail Merge fields if they are on the same page.
|
3.
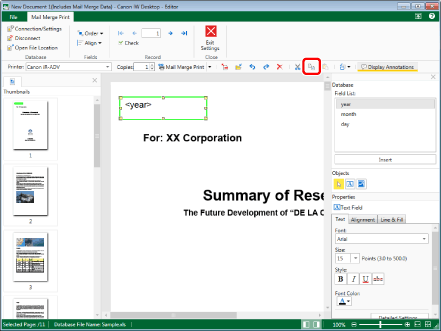
Click  (Copy) on the toolbar.
 (Copy) on the toolbar.
Or, follow one of the steps described below.
Right-click and select [Copy].
Drag while holding the [Ctrl] key on the keyboard.
|
NOTE
|
|
If tool buttons are not displayed on the toolbar of Desktop Editor, see the following to display them.
|
4.
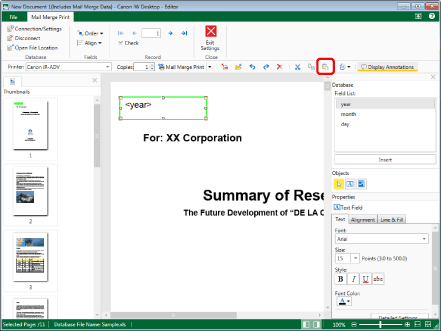
To paste the copied Mail Merge field, click  (Paste) on the toolbar.
 (Paste) on the toolbar.
Or, right-click and select [Paste].
|
NOTE
|
|
If tool buttons are not displayed on the toolbar of Desktop Editor, see the following to display them.
When a Mail Merge field is pasted to the same page it was copied from multiple times, the Mail Merge field is pasted in the following position.
First copy: 15 pixels below and to the right of the copy source
Second and subsequent copies: 15 pixels below and to the right of the previous copy
When a Mail Merge field is pasted to the different page it was copied from multiple times, the Mail Merge field is pasted in the following position.
First copy: The same position as the copy source
Second and subsequent copies: 15 pixels below and to the right of the previous copy
A copied Mail Merge field can only be pasted in the same document from which it was copied.
When a Mail Merge field outside the page area is copied and pasted, the Mail Merge field is pasted to the top left of the page.
|
Cutting Mail Merge Fields
This section describes how to cut Mail Merge fields.
1.
Click  (Select Fields) on the Details Window.

2.
Move the mouse pointer to the Mail Merge field that you want to cut on the Work Window, and click the field when the shape of the mouse pointer changes to  .
.
Or, drag the mouse pointer selection rectangle to include the Mail Merge field to cut.
|
NOTE
|
|
Multiple Mail Merge fields can be selected by clicking them while holding down the [Ctrl] key on the keyboard.
If you want to select all Mail Merge fields on the page, perform one of the following operations in an area on the Work Window without a Mail Merge field, while keeping the Work Window active.
Click [Select All] on the toolbar.
Right-click and select [Select All].
If tool buttons are not displayed on the toolbar of Desktop Editor, see the following to display them.
You can only select multiple Mail Merge fields if they are on the same page.
|
3.
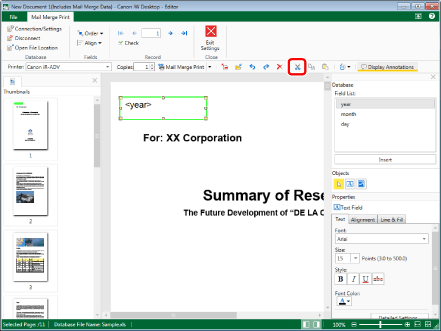
Click  (Cut) on the toolbar.
 (Cut) on the toolbar.
Or, right-click and select [Cut].
|
NOTE
|
|
If tool buttons are not displayed on the toolbar of Desktop Editor, see the following to display them.
|
4.
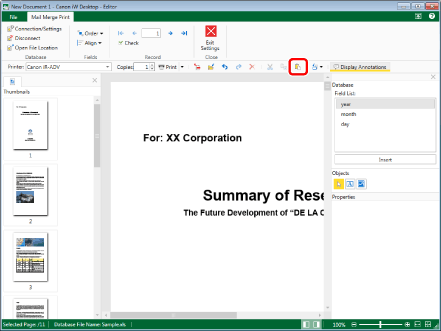
To paste the cut Mail Merge field, click  (Paste) on the toolbar.
 (Paste) on the toolbar.
Or, right-click and select [Paste].
|
NOTE
|
|
If tool buttons are not displayed on the toolbar of Desktop Editor, see the following to display them.
When a cut Mail Merge field is pasted to the same page it was cut from multiple times, the Mail Merge field is pasted in the following position.
First copy: The same position as the cut source
Second and subsequent copies: 15 pixels below and to the right of the previous copy
A cut Mail Merge field can only be pasted in the same document from which it was cut.
When a Mail Merge field outside the page area is copied and pasted, the Mail Merge field is pasted to the top left of the page.
|