Disposing of Waste Ink/Waste Conditioning Liquid
Dispose of the ink (waste ink and waste conditioning liquid) in the ink waste container according to the ink status indicators. Status of Press
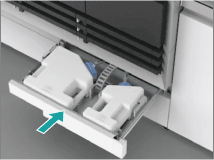
The ink waste container is stored in the ink waste container tray of the PM (Print Module).
The ink waste container is stored in the ink waste container tray of the PM (Print Module).
Do not change the combination of ink waste container and cap.
Waste ink has been confirmed to not leak with the combination of ink waste container and cap used at the time of shipping.
Disposing of a Used Ink Waste Container
Dispose of a used ink waste container as industrial waste. For information on the disposal method, contact your service representative.
Waste ink
The capacity of the full ink waste container is indicated below. Handle it carefully when transferring the waste ink to a disposal container, to ensure that you do not drop it.
Waste ink: 4.6 L (1.22 gal)
Waste conditioning liquid: 1.5 L (0.4 gal)
Wash the areas that contacted the waste ink with cold or warm water and use soap to remove the waste ink. If there are any visible changes or irritation persists after washing, consult a physician immediately.
If waste ink gets in your eyes, wash them with clean water for at least 15 minutes, then consult a physician immediately. When washing your eyes, open your eyelids wide with your fingers so that the water can reach the entire eyeball and corners of your eyelids. If you are using contact lenses, remove the contact lenses before washing, if they are removable.
If waste ink gets on clothing, it may not come off even by washing the clothing.
Dispose of waste ink as industrial waste, and do not flush it down the sewer. For information on the disposal method, contact your service representative.
Required Preparations
Wear plastic gloves and protective goggles.
Prepare a rag to use for wiping away waste ink/waste conditioning liquid.
Prepare a disposal container to use for holding the waste ink/waste conditioning liquid.
Transfer the waste ink and waste conditioning liquid to separate disposal containers. Ink and conditioning liquid will stick together if mixed.
Transfer the waste ink and waste conditioning liquid to separate disposal containers. Ink and conditioning liquid will stick together if mixed.
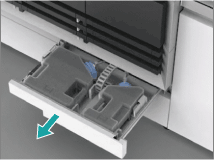
1
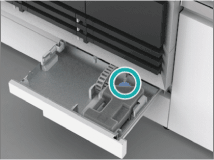
Pull out the ink waste container tray.
2
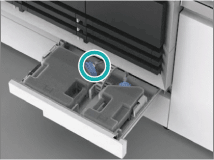
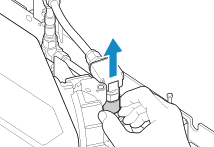
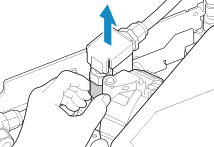
Remove the coupler from the ink waste container.
Hold the part with the groove, and move the coupler up to remove it.
Ink waste container
Waste conditioning liquid container
3
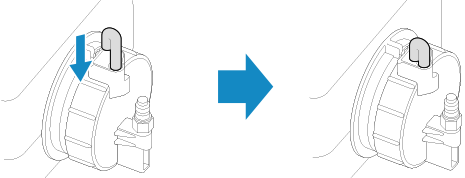
Insert the tube attached to the cap through the ventilation hole.
Confirm that the tube has been inserted all the way, to prevent liquid leakage.
4
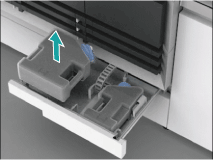
Remove the ink waste container.
Ink waste container
Waste conditioning liquid container
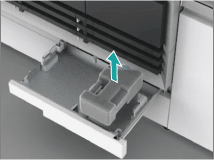
5
Turn the cap counterclockwise to remove it.
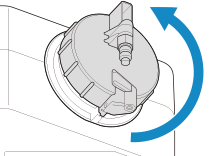
6
Transfer the waste ink and waste conditioning liquid to the disposal container.
NOTE
We recommend that you hold the waste ink container in the direction it is attached to the tray, and gently tilt it to transfer the waste ink/waste conditioning liquid to the disposal container.
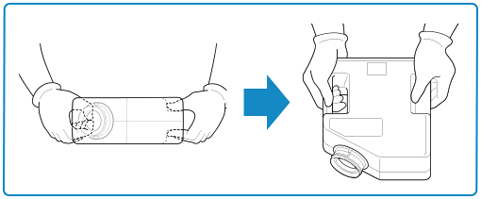
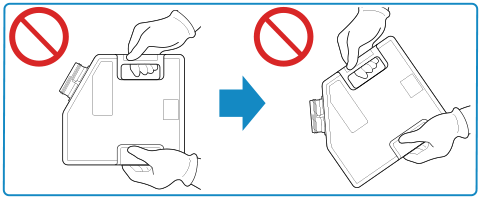
If you disposed of waste ink in the following cases, wash the ink waste container with water.
When the waste ink LED is lit red
When an error is displayed on the control panel of the press
Fill the ink waste container with water, attach the cap, shake the container about 10 times to clean the inside, then transfer the cleaning water to the disposal container.
7
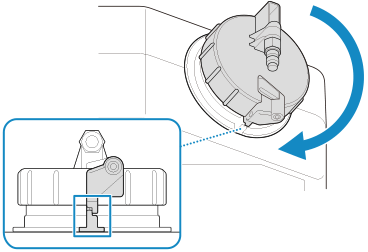
Turn the cap clockwise to attach it.
Close the cap tightly, ensuring that the protrusion of the cap is aligned with that of the ink waste container.
NOTE
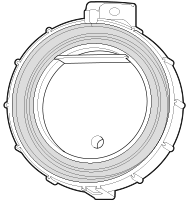
Before attaching the cap, confirm that there is no foreign material on the surface of the cap seal.
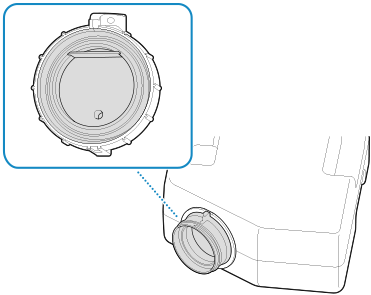
Use the rag to wipe away any waste ink that is attached to the cap or opening of the ink waste container.
8
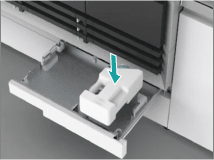
Attach an empty ink waste container/waste conditioning liquid container to the tray.
Ink waste container
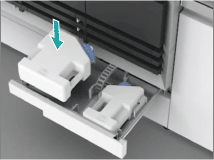
Waste conditioning liquid container
9
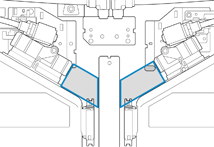
Remove the tube.
Do not forget to remove the tube, as an error will occur if it remains inserted.
Move the tube you removed to the location indicated in the illustration to ensure that it will not interfere when attaching the coupler.
10
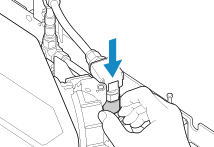
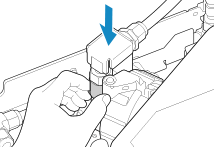
Attach the coupler to the ink waste container.
Ink waste container
Waste conditioning liquid container
11
Push the ink waste container tray in all the way.