Replacing the Fixing Assembly
When it is time to replace the fixing assembly, a message notifying the user to replace the fixing assembly with a new fixing assembly is displayed. Follow the message to replace the fixing assembly with a new fixing assembly.
 |
Replace the fixing assembly after the message notifying the user to replace the fixing assembly is displayed. |
 |
For details about each message, see Countermeasures for Each Message. For information on the model number of the fixing assembly, see Consumables. |
1
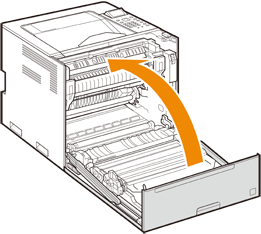
Open the front cover while holding down the button.

2
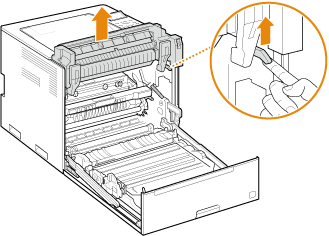
Lift up the fixing assembly lever.
3
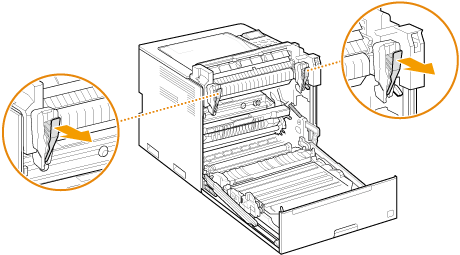
Unlock the fixing assembly.
4
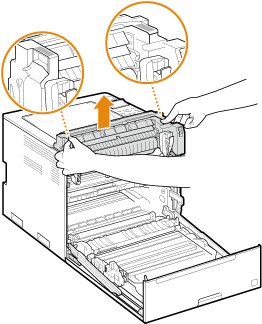
Hold the handles on both sides, and lift the fixing assembly straight up.
5
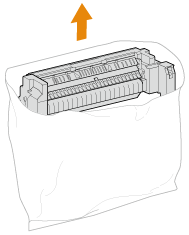
Take the new fixing assembly out of its box.
6
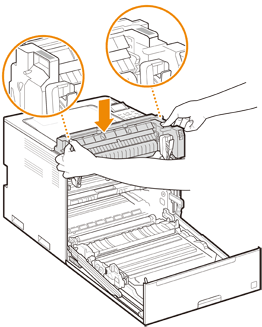
Install the fixing assembly to the main unit.
7
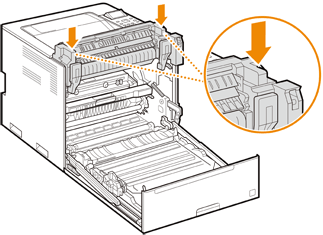
Push down the handles on both ends of the fixing assembly.
Push it in until it clicks in place.
8
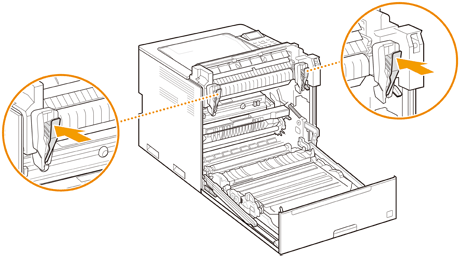
Lock the fixing assembly.
9
Close the front cover.
