Size and Orientation Settings
Set the size and original orientation according to the placed original.
Setting the Original Size
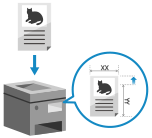
When a part of the custom size original or part of the image on the edge of the original is missing after being scanned, set the size of the placed original manually.
1
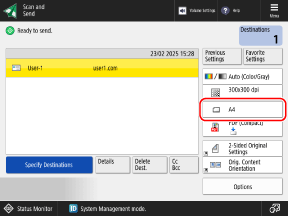
On the scan screen, press the setting button for the original size. Scan Screen
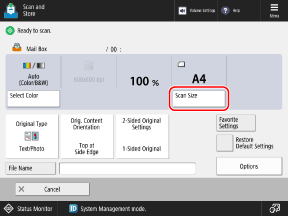
The [Scan Size] screen is displayed.
2
Select the size of the placed original.
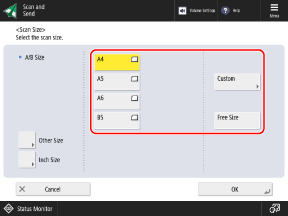
Depending on the setting, the location where to place the original may be restricted to the platen glass or feeder. If the original is placed in a different location, place it in the listed location. Placing Originals
When Placing a Custom Size Original
Enter the size (length of sides) of the original to set.
* You cannot set the size when saving scanned data to a Mail Box.
1
Press [Custom].
If you do not know the size (length of the sides) of the placed original, press [Free Size]. In this case, you do not need to perform Step 2 (entering the length of sides).
* If this is set to [Free Size], the original can only be placed in the feeder.
2
Enter the length of the sides for [X] and [Y], and press [OK].
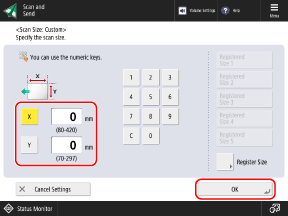
Press [X] and [Y] to select them, and enter the values.
When frequently used original sizes are registered, you can call them up by pressing [Registered Size 1] to [Registered Size 5].
Registering the Size of an Original
Follow the procedure below to register sizes when you frequently use specific non-standard size originals. You can call up the size on the size input screen, saving you the trouble of entering the size each time.
You can register up to five sizes for an original.
You can register up to five sizes for an original.
Press [Register Size] |
* On the size registration screen, you can select a button and press [Rename] to rename the button.
When Scanning Originals of a Special Size Such As OFICIO 

Press [Other Size], and select the paper size.
3
Press [OK].
The scan screen is displayed again.
Setting the Original Orientation
Set the orientation of the placed original so that the top and bottom of the scanned data are displayed correctly.
* You cannot set the orientation when saving scanned data to Mail Box.
1
Press [Options]  [Orig. Content Orientation]. Scan Screen
The [Orig. Content Orientation] screen is displayed.
2
Select [Top at Far Edge] or [Top at Side Edge] according to the placed original.
3
Press [OK] [Close].
The scan screen is displayed again.